Tutorial Preview
Highlights
Here we have carefully selected the key parts which should provide you with more than enough to get started. Perfect if you are struggling for time.
1. Preparing the Off Pieces
In this lesson Ceri shows us how to make the first set of royal icing off pieces. Ceri has kindly provided a downloadable template available for you in the templates drop down section. As always this lesson is full of brilliant practical advice to help make your life a lot simpler.
2. Lesson 2 - Preparing the Template
Here Ceri show us how to create the template he will be using to help organise and structure his design. Ceri always uses templates when doing piped work onto his cakes as just doing it by eye leaves a lot of room for untidiness.
3. Piping Around the Template Pt 1
In this lesson Ceri shows us how to attach the template to the cake where he begins to pipe around it. Just be careful not to touch the template as you pipe onto the cake as this can cause the template to stick to the cake and causing problems when it comes to removing it.
4. Adding Line Work
Here Ceri starts to add some prettiness to the cake with some line work. A steady hand is key here so lay off the caffeine and remember to breathe!
5. Attaching the Off Pieces
In this lesson Ceri attaches the off pieces in a very clever way which allows them to dry safe and securely. A damp paint brush is always your best friend when working with royal icing and make sure you neaten up your work as you go as once it’s dried it is impossible to change.
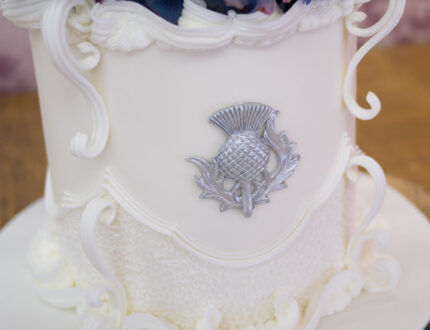
6. Making the Thistle
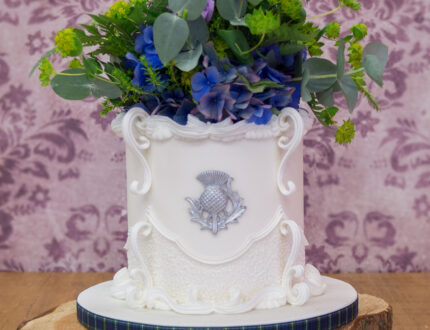
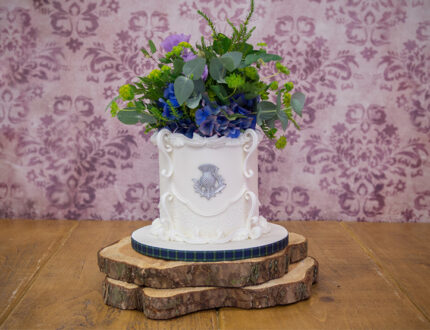
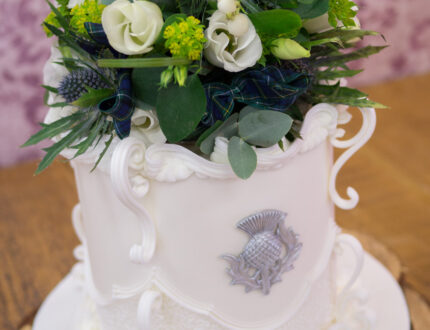
Now it’s time to make the main feature of the cake…the thistle! You may be pleased to know that Ceri uses a mould to make the thistle but feel free to make your own. Ceri uses silver paint and a little lustre glaze spray to help bring the colour to life.
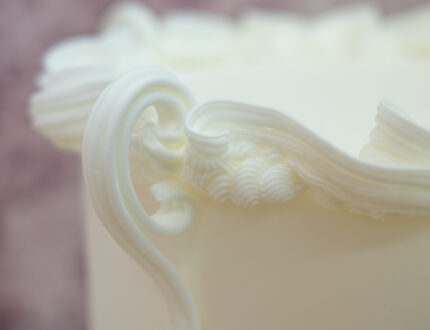
7. Adding the S and C Scrolls and Line Work
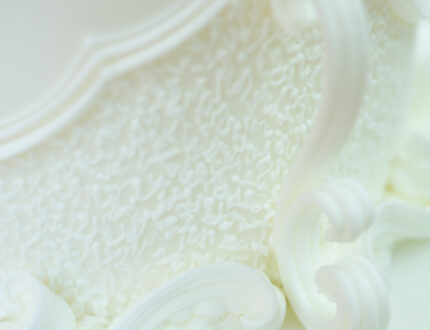
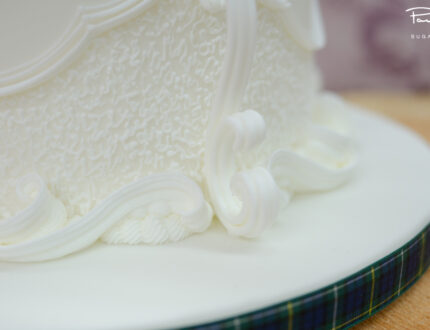
Ceri gives so good advice here and advises that we practise the scrolls and line work on a dummy or even the corner of a baking tin before applying them to the cake. Here we see Ceri add the S and C scrolls to the top edge of the cake as well as the bottom and then goes over them with some stacked line work.
8. Adding the Thistle and Arranging the Flowers
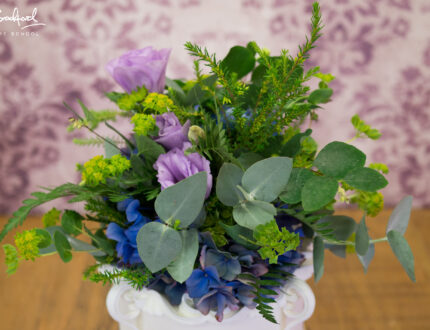
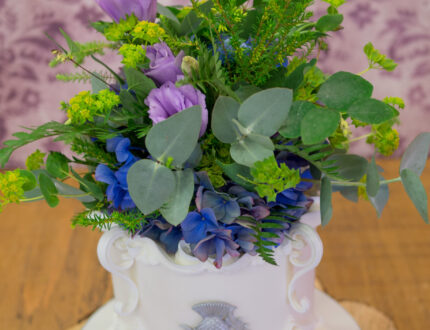
Ceri starts of by adding the thistle to the middle of the cake after carefully choosing what should be the front of the cake and secures it with some royal icing. Now it’s onto arranging the cake topper and we have the wonderful Natasha form Tupelo Tree to show us the way.
9. Other Ideas
Here Ceri shares some other ideas that you can implement when making this cake to make it unique to you.
We are you sure you have some of your own ideas and we would love to see your take on the thistle cake and the flower arrangement! Please share your pictures with us on our facebook page.
10. Pro Lesson
Here Ceri shares some other ideas that you can implement when making this cake to make it unique to you.
We are you sure you have some of your own ideas and we would love to see your take on the thistle cake and the flower arrangement! Please share your pictures with us on our facebook page.
We would love to see your take on the Rabbie Burns Cake – please share your pictures with us on our Facebook Page!
