Tutorial Preview
Highlights
If you are struggling to fins the time to watch each and every lesson then this is the video for you. Here we have selected all the key points and condensed the whole tutorial into a 10 min video. More than enough to get you started!
1. Preparing the Board and the Support
Struggling for time? Why not watch the whole thing in under 10 mins!
So you already know what you’re in for after seeing the pictures. This is a monster of a cake and needs a solid board and support to go with it. Paul shows us how to build up the board using various cake drums, hot glue and a massive wooden dowel etc. A little bit of DIY is required here so please don’t do it in the kitchen and make sure you keep things food safe.
2. Preparing the Board and the Support Pt 2
Paul continues to prepare to board and general structure making extra sure it’s nice and strong. Now armed with his new glue gun he sticks everything together and creates a whole for the rather large dowel using a spade bit drill.
3. Stacking the Cake
Paul cuts out large round pieces of cake but for most of you, you will already have the correct cake sizes already so can skip this part. Make sure that you have chilled your cakes in the fridge to help strengthen them as there will be quite a lot of weight on them once they are on top of each other and covered in ganache and sugarpaste.
4. Stacking the Cake Pt 2
Paul continues to stack the cake and shows us how to support it as we go. Now we move onto carving this “beast”!
5. Carving the Cake
Remember the sort of cut out template Paul was using to make sure the shape was correct? Well he has done something clever and created a reverse template which helps an awful lot in this section. I’ll not spoil it for you and all you need is a large piece of card…something like a cake large cake lid should do.
6. Ganaching the Cake
Unfortunately Paul is low on milk chocolate ganache and ends up finishing it off with white chocolate ganache. Little did he know at the time that this would lead to an absolute disaster! We thoroughly recommend that you use dark chocolate ganache or even milk with a layer of dark over it to help encapsulate it. White chocolate is far too soft and never sets solidly like dark which is a shame as it’s very tasty.
7. Covering the Cake Pt 1
In this lesson Paul shows us how to use ribbon to keep everything neat and straight. To try and keep the panel feel of a rugby ball Paul opts for adding the sugarpaste in such a way. Instead of rolling out one big massive piece of sugarpaste he adds it in four panels which make life easier and adds to the effect.
8. Covering the Cake Pt 2
When attaching on the panels obviously you have to tackle the issue of the joins between each one. Don’t worry however as Paul shows us how to blend them together using icing sugar, warm hands and cake smoothers. You don’t want to get rid of the join completely remember and later on you will actually be enhancing them slightly using the stitchy tool.
9. Texturing the Cake
In true expert fashion Paul managed to recover the cake from absolute disaster and has re ganached and covered the entire cake….what a job! Now it’s onto adding texture and stitching detail. Paul uses a texture mat the details for which can be found in the tools and ingredients list and hand presses it all over the cake. Now it’s time to test your surgeon steadiness and use the stitchy tool as accurately as you can following the lines of the panelled sugarpaste.
10. Adding the Letters
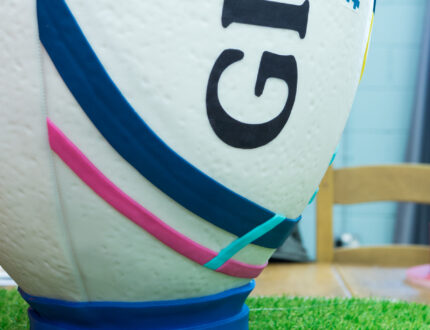
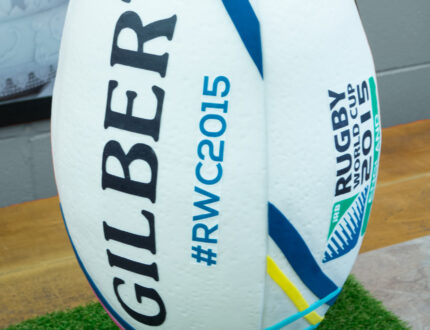
In this lesson Paul shows us how to create and attach the “GILBERT” logo to the cake. It’s actually very simple and you have more than one option for making them. You can either get an online company to print out edible prints for you, use your own edible printer or print out paper copies and cut around them on flower paste.
11. Adding the Logo
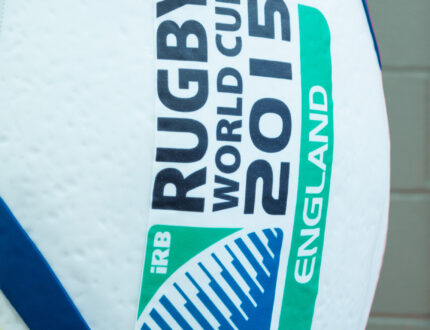
In this lesson Paul adds the logo along with the hashtag code and shows us how to blend them in with having to cut them out of their white background. It would be very difficult to cut around such small letters and cut out the intricate logo but feel free to give it a try but as you will see you can get away with putting them on as they are.
12. Adding the Stripes Pt 1
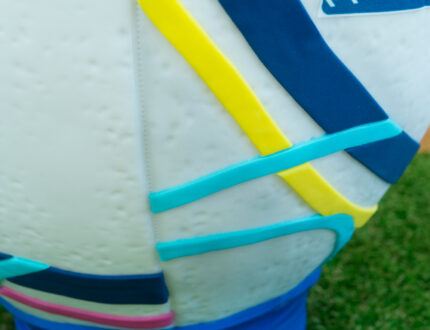
In this lesson Paul starts adding the coloured stripes to the cake. Paul has opted to use sugarpaste to add more dimension to the cake as opposed to using edible paper which would obviously have a flatter appearance. This is entirely up to you but you may actually find that using sugarpaste is easier. You might want to go with Paul’s advice of using more expensive sugarpaste which copes with being rolled out thin without cracking such as Massa Ticino.
13. Adding the Stripes Pt 2
Paul continues to add the rest of the stripes and advises that you use water instead of glue when attaching them in case you need to pull any back off, cut them away or just generally correct them.
14. Adding the Kick Tee
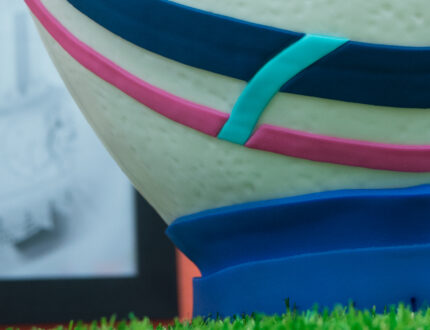
A nice short and easy lesson for you here where Paul shows us how to simply add a kick tee to the cake to give the illusion that the cake is sitting on top of it waiting to be kicked. Just a piece of thick sugarpaste wrapped around the bottom and then marked to add interest and you’re done!
15. Adding the Grass
Now of course you could create some edible grass by simply piping the board with green royal icing which would look quite nice and keeps everything nice and cakey. Paul however wanted to keep it looking as realistic as possible and i’m sure you will agree that it has done just that. In this lesson Paul shows us how to cut it to size in order for it to fit around the base of the cake as well as cover the board.
16. Finishing Touches
Just a little airbrushing and we are all done. You’ll be pleased to know Paul just uses a little black airbrush paint and it’s nice and simple and very quick. Just highlighting key areas to emphasize the shape of the cake.
17. Other Ideas
In this lesson Paul shares some ideas that you can implement when making this cake to make it unique to you. We would love to see your versions of this cake so please share your pictures with us on our facebook page.
18. Pro Lesson
In this lesson Paul gives some insider info for this cake including the cost to make it as well as how much you should price the cake at when selling it. Vital information for any professional cake designer.
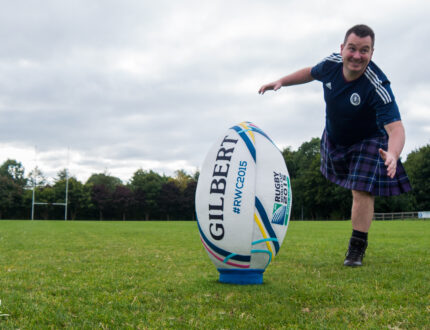
Paul introduces us to this monster rugby ball cake just in time for the Rugby World Cup! This cake incorporates many different techniques and tackles the issues of working with a massive cake. A fantastic cake for large parties or events and one that can be adapted in so many ways…it could even be a dinosaur egg! This cake will take two full days to create and is aimed at advanced level cake decorators.
We would love to see your take on the Rugby Ball Cake – please share your photos with us on our Facebook Page!
