Tutorial Preview
Highlights
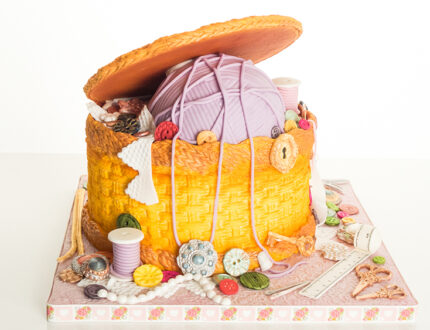
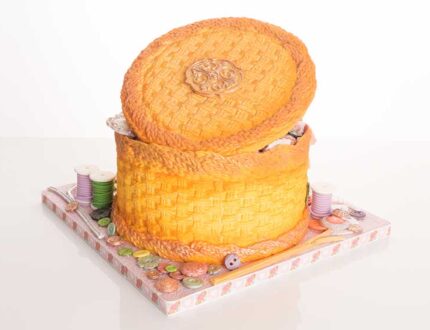
Some of the highlights of ur sewing basket cake tutorial.
1. Covering the cake
This is something you don’t see too often….Paul using lemon cake and buttercream.
It’s for a family member so he breaks from his usual chocolate cake and ganache and quickly reflects on why, as a cake decorator, he prefers ganache.
NOTE: Paul later decides to transfer the cake onto a decorated board so it would be a good idea to place the cake on a card at this stage.
2. Adding the lid and preparing the side panels
This is a slightly different covering arrangement so Paul prepares the lid then starts to create the patterns on the side panels using the impression mat.
3. Adding the patterned panels
Paul then adds the side panels, knitting them together with seamless joins which is all pretty straight forward. Of course, you can choose whichever pattern will go best with your design.
4. Finishing the sides and top
You’ll start to see the basket coming together now by adding the side panels, lid and finishing off with the decorative trims. Spot Paul’s suggestions for covering up those little mistakes!
5. Airbrushing
You can use coloured sugarpaste, but you’ll get a better finish with the airbrush so Paul reaches for his trusted IWATA. He then layers the colours to give the basket character.
6. Preparing and painting the accessories
This is the time-consuming part and if time permits it’s better to prepare all your moulds and allow them to set overnight before painting them the next day.
Paul’s prepared a lot off camera, but in this lesson runs through all the different moulds he’s used and explains his painting techniques.
7. Preparing the cotton reels
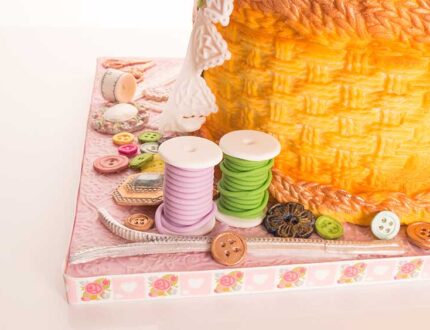
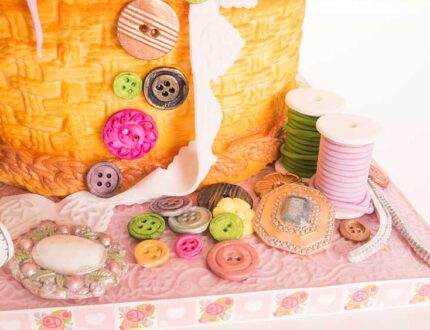
A very simple but effective technique to create the cotton reels and of course you choose the colours that best compliment your design.
8. Adding the ball of wool
The ball of wool is the centrepiece for the sewing basket and you have two choices when it comes to covering to get the wool shape.
Paul chooses the quicker method by creating the wool pattern using an impression matt or you could create the wool using individual strands from the extruder.
9. Adding the decorations
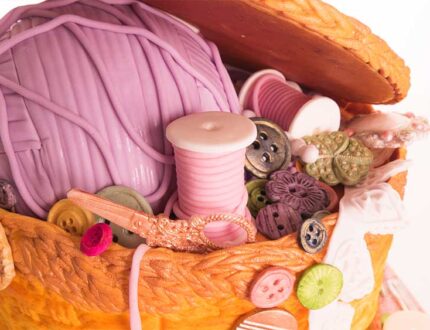
This is where all your time and hard work pays off when you start to add the decorations. This will come down to your own eye for design, but Paul talks through his thinking behind the placing of many of the pieces.
10. Finishing touches
Time to really bring the cake together placing the last of the decoration pieces on the cake and finishing with the ribbon and all those important final tweaks and touches.
11. Other Ideas
Paul shares with us some other ideas for cakes you could create with what you have just learned.
12. Pro Lesson
We look at everything you need to know for selling a cake like the sewing basket design.
Learn how to make a sewing basket cake…
In this fun-filled online cake tutorial, Paul Bradford shows you how to make a sewing basket cake!
Perfect for fans of knitting, sewing and other crafts. This beautiful patterned design will help you improve your cake decorating skills in numerous ways.
In this tutorial, you will learn how to…
- Create intricate patterns
- Cover awkward shapes
- Airbrush a blend of colours
- Use simple techniques to create a cotton reel effect
- And much, much more
The sewing basket cake is also great for playing with and creating your own interpretations…
Don’t forget to share your interpretations of this wonderful cake with Paul and rest of the Sugarcraft community on our Facebook group.
Who knows? You may even end up featured in one of our monthly members’ cake blogs.
