Tutorial Preview
Highlights
Here we have carefully selected the key parts from the entire tutorial and condensed it into an 8 min long video. More than enough to get you started without taking too much time.
1. Lesson 1 – The design
Paul starts off this tutorial by explaining the design and going over the process we’ll use to bring it to life.
2. Lesson 2 – Making the flowers
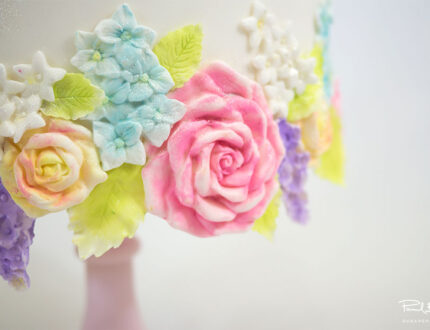
In this lesson, Paul creates the small flowers using various different moulds.
3. Lesson 3 – Making & attaching the flower strips
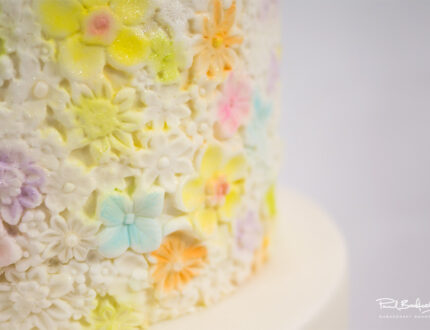
Paul continues using the moulds to create strips of flowers, which he then applies to the first tier of the cake.
4. Lesson 4 – Dusting the flower strip
Paul now goes over the flower strip with edible dust, highlighting random flowers.
5. Lesson 5 – Dusting the flowers
Paul moves on to dusting the individual flowers.
6. Lesson 6 – Adding the flowers
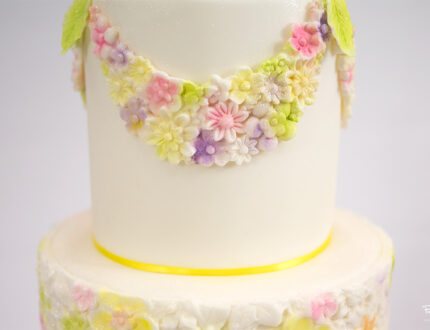
In the lesson, Paul starts attaching the flowers on to the first tier of the cake.
7. Lesson 7 – Placing the tiers & adding more flowers
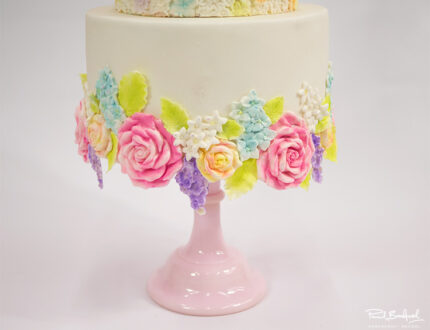
Here, Paul stacks the different tiers on top of one and another, then finishes off attaching the flowers.
8. Lesson 8 – Finishing touches
Finally, Paul adds some finishing touches by attaching on a few cream pearls and spraying the cake with a powder sparkle.
9. Other ideas
Here Paul shares some other ideas you can try your hand at when making this cake. We’re sure you have some of your own great ideas and we’d love to see what you come up with.
Share your lovely pics with us on our Facebook page.
10. Pro lesson
In this lesson, Paul shares some insider information about the cost to make this cake, as well as pricing, portions and other vital information for any professional cake designer.
We’d love to see your take on the Simple Floral Wedding Cake – so make sure you share your snaps with us on our Facebook page.


