Tutorial Preview
Highlights
Highlights of our snowboarder cake tutorial.
1. Making the stand
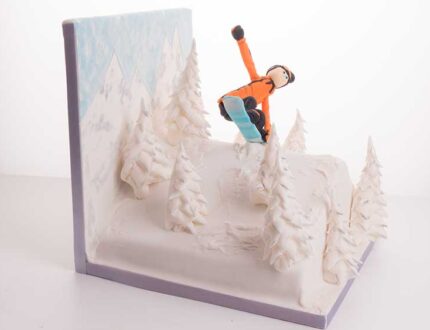
Creating a scene can give an amazing effect and it’s very straightforward to create the stand. Paul takes you through the steps of making the ‘L’ shape boards, which can be used for a variety of different designs.
2. Carving the cake
Paul shows how to quickly cut and shape the cake to give the distinctive snowboarder ramp.
He then applies ganache with a little anecdote to pass the time.
3. Covering the cake and board
Covering the cake is straightforward enough as it doesn’t need to be ‘wedding cake’ smooth. Paul then ices the vertical board which is where he’ll make the snow scene.
4. Decorating the board
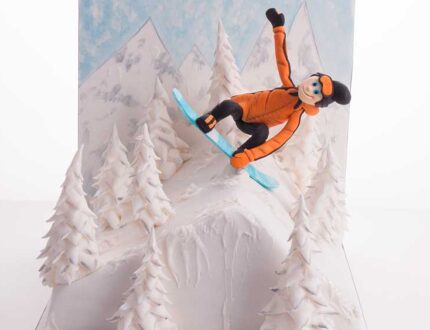
Time now to start painting the backboard. You don’t need to be an artists as it’s just to give an effect as the snowboarder will be the focus of the finished cake. Paul then starts to shape, cut and colour the fir trees.
5. Adding the snow texture
You can use royal icing or as Paul uses in this lesson, sugarpaste as a substitute. Adding water to the sugarpaste ends up creating a sugarpaste gunge, which is perfect for the job.
6. Making the board structure
There are a few options for making the board, but for best effect Paul uses a metal bracket and kinks it up at each end. He then places the starting pieces for his armature.
7. Creating the armature
Using an image to guide him, Paul creates the model’s armature frame using wires and florist tape. To add that extra level of stability he reaches again for the hot glue gun.
8. Covering the snowboard
Using a marble effect pattern Paul then covers the board being careful to shape around the armature. Going for baggy trousers he then adds the bottom half of the model.
9. Adding the snowboarder’s body
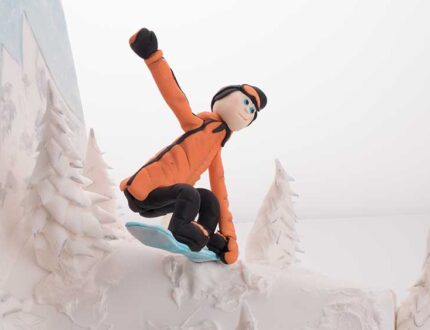
This is a little more tricky than normal as you have to get the body into the pose. Paul then goes on to add some extra stripes and the snowboarder is starting to come to life.
10. Adding the arms
Our boarder is coming together now as the arms are added. Nice and easy for the hands this time as our boarder is wearing mittens.
11. Adding the head
Adding the hood, head, face and goggles really gives our boarder his character. All straightforward steps to arrive at a cute model all ready for his snow jump.
12. Finishing touches
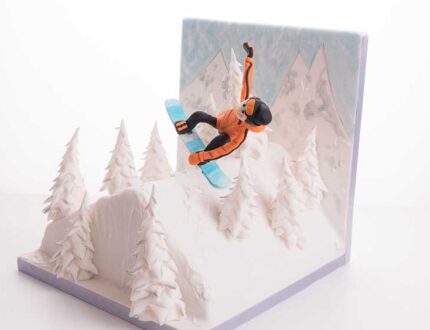
Time to add the model to the cake ramp and Paul then goes around with his finishing touches to make this lovely winter sports scene.
13. Other Ideas
Other ideas which can be used for this design.
14. Pro lesson
Everything a pro needs to know for creating and distributing this design.
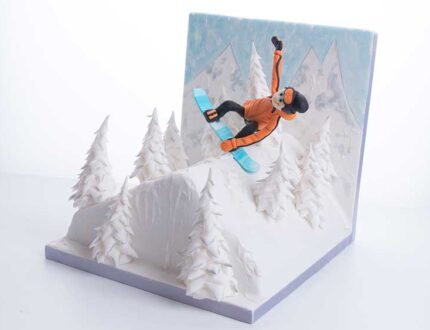
Snowboarder cake tutorial with Paul Bradford
Learn how to make this super cool (see what we did there?) snowboarder cake with the multi-award winning Paul Bradford. Stunning to look at but simple to make, you’ll be surprised what you can learn in just a couple of hours work!
In the following tutorial you will learn how to:
- Armature
- Create an internal structure
- Cake carve
- Ganache
- and much, much more
Don’t forget to share your interpretations of this wonderful cake with Paul and the rest of the CakeFlix community on our Facebook group.
View hundreds of more world-class tutorials only at www.cakeflix.com.
