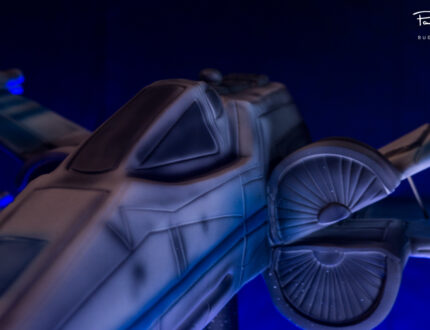
Tutorial Preview
Highlights
Here we have carefully selected the key parts that will be more than enough to get you started if you are struggling for time.
1. Making the Structure
Paul has gone ahead of us and made the wooden base using a print out a blueprint found on-line which he then cut around. The design is quite intricate so you may want to get your local DIY store to do this for you. As well make sure that you cut it out away from where you will be preparing the cake. Food safety is key.
2. Making the Structure Food Safe
Now to make the structure food safe. Paul uses cake card cut to shape and then stuck down using a hot glue gun. Paul then cuts out the wings using foam core which is great as it light but quite strong and also food safe. A win win really.
3. Carving the Cake
In this lesson Paul shows us how to carve the cake and really the only thing to advise here is that you have an image of the X-Wing fighter in front of you and simply carve what you see. Better still, get a model toy of it and then you can assess it in 3D. Carve a little at a time so you don’t cut too severely and make life difficult for yourself.
4. Smoothing the Ganache
Here Paul smooths down the ganache that he has applied after leaving it to set for a little while. Paul prefers to use hot water and a cranked palette knife but another popular method is using acetate smoothers which bend to whatever shape you are working with.
5. Finishing the Shape of the Cake
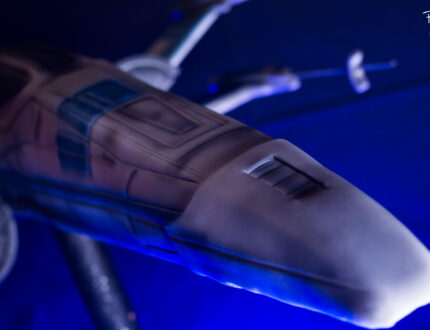
I promise you that in the next lesson we will move onto the sugarpaste. For now however Paul is focusing on finishing building up the shape with a little piece of sugarpaste supported by spaghetti for the nose. The bit that’s really demanding his attention is the cockpit which really needs to be carved well as obviously it may lose definition once covered in sugarpaste.
6. Covering the Cake
Now we are finally there! It’s time to cover the cake. Paul uses his rolling pin to roughly measure out how big a piece of sugarpaste he needs. Place it gently over the cake and then gradually smooth it down with acetate smoothers and use your finger to pinch and work the sharp corners.
7. Adding Detail
Here Paul begins to add detail to the sugarpaste by closely studying the image of the fighter and uses PME modelling tools as well as a ribbon cutter to add lines and sharpness.
8. Adding Detail Pt 2
Paul uses a clever trick to help everything symmetrical and takes a picture of the finished side of the cake so he can copy it onto the other side without having to constantly turn the cake to see. It’s the simple things. in this lesson he starts to add things onto the cake with cut out pieces of sugarpaste as well as adding additional lines.
9. Covering the Wings
In this lesson Paul shows us how to cover the wings using non edible glue and sugarpaste. It’s very unlikely that anyone is going to want to eat the wings so don’t worry. Make sure you use nice thick and sticky glue as the wood will absorb water glue and it won’t last.
10. Adding Detail to the Wings
Now Paul focuses on the wings and begins to add line detail as well as adding extra parts using sugarpaste. To help stick extra parts onto the wings Paul cuts out section of cake card and uses edible glue. The important thing for this whole stage of the cake is do it while the sugarpaste is still soft.
11. Adding Detail to the Wings Pt 2
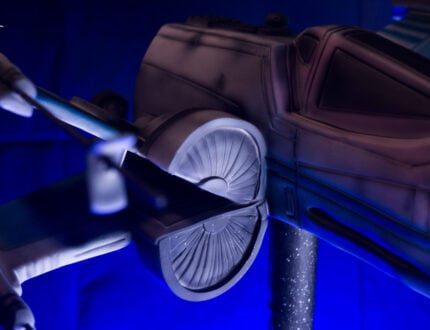
Paul continues with the wings adding the engines using large pieces of sugarpaste held with edible glue and more sugarpaste. It makes sense when you see him do it. Paul uses layers of thing sugarpaste to add support and hide joins. To create the line detail he uses a piece of card and simply presses it into the sugarpaste. No fancy tools needed.
12. Finishing the Wings
Here Paul finishes the other set of wings that will then be hot glued into place. With the foam core being the same shade of white as the sugarpaste there’s no real need to cover the underside of them which saves time. Paul then shows us how to add all the little bits of detail plus the engines.
13. Attaching the Wings
It’s nail biting time as we watch Paul attach the top wings to the cake using hot glue along with extra support from cake card which also serve to keep the cake edible. Unfortunately you will see later in the tutorial that the wings begin to collapse and need extra support from toothpicks. It still looks great however.
14. Attaching the Guns
In this lesson Paul neatens up the engines he attached in the last lesson and then moves onto figuring how to make and attach the guns that come from the wings. Paul finds a nice simple but effective way that uses sausages of sugarpaste along with bamboo skewers.
15. Airbrushing the Cake
Mixing white and black airbrush paint Paul begins to bring out all the detail added to the cake. If you don’t an airbrush you can always just paint it on with a paintbrush but it will obviously have a different look.
16. Airbrushing the Cake Pt 2
Paul continues with the airbrushing to gradually darken the whole cake and focuses on key areas to really bring out the 3D feel.
17. Airbrushing the Cake Pt 3
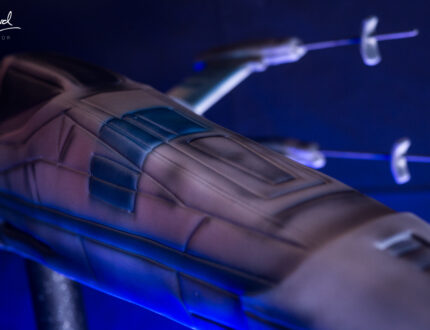
Here paul begins to add more colour with a lovely denim blue which really makes it look “cool”. To help keep the lines neat you could always use parchment paper cut into strips and attach them to the cake and airbrush the exposed parts. As with when we were adding the line detail it’s the same discipline in that you are studying the subject as closely as possible and re-creating what you see.
18. Covering the Board
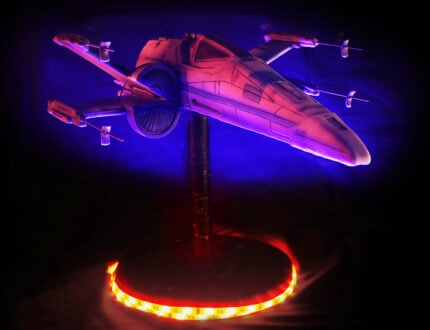
First of all Paul adds extra support to the cake by hot glueing the stand to a cake drum. As well as support it adds height and extra space for adding lovely LED lights. Paul covers the board and the large wooden dowel holding the cake with black sugarpaste using edible glue.
19. Finishing Touches
In this final lesson Paul decides to decorate the board by splashing it with three different paints to give the illusion of stars and galaxies. Then it’s time to attach and test the LED lights and then we’re all done!
20. Other Ideas
Here Paul shares some ideas that you can implement when making this cake to make it unique to you. We are sure you have some of your own ideas by now and we would love to see them.
Please share your pictures with us on our facebook page!
21. Pro Lesson
In this lesson Paul shares some insider information vital for any professional cake designer.
We would love to see your take on the Space Jet Fighter – please share your pictures with us on our Facebook Page!
