Tutorial Preview
Highlights
Here, we’ve carefully selected the key parts from the entire tutorial and condensed it into a 5 min long video. More than enough to get you started without taking up too much of your time.
1. Lesson 1 - Making the structure
In this lesson, Paul shows us how to make the structure which you will be pleased to know, is very simple.. There a couple of different ways you could do this but Paul opts for the cheaper simpler option which also works well.
2. Stacking the cakes
Now it’s time to wrap the cakes around the structure. Paul cuts up his square cake and then layers it around the stand. At this point you could add you flavours and layer it as many time as you like. Just remember however you will be cutting a lot of it away.
3. Carving and ganaching
In this lesson, Paul gets the long serrated knife and carves the cake to bring out the torso shape of the dog. Don’t be scared about cutting too much away as you can always stick it back on with some ganache. Paul then adds a layer of ganache which he smooths with some warm water off camera.
4. Covering the cake
Paul now covers the cake using lovely Massa Ticino sugarpaste which covers and blends wonderfully. Just a little bit of water and a little rub and the joins disappear.
5. Adding the arms
Paul runs into a spot of bother initially but, fear not as he quickly uses his astute problem-solving skills. Problem-solving and crying are a big part of cake decorating so watch and learn.
6. Adding detail to the arms and paws
Paul now begins to bring shape to the arms by adding and modelling more sugarpaste and then gets his modelling tools out to form the paws.
7. Making the head
Due to weight, Paul decides to not use cake for the head. He still uses something that’s extremely tasty and edible and just as easy to carve though. Can you guess what it is?
8. Making the head
In this lesson, Paul covers the head with roughly 5mm thick sugarpaste and then starts to add the eyes and nose.
9. Building up the face
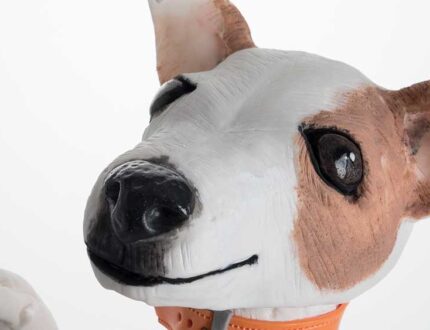
Between filming Paul has noticed that the shape of the face isn’t quite right and so decides to carve into it a little more to bring out the shape of the muzzle.
10. Working on the eyes
Paul starts by covering the face with a thin second layer of sugarpaste and then brings back the eyes using modelling tools.
11. Texturing and adding the ears
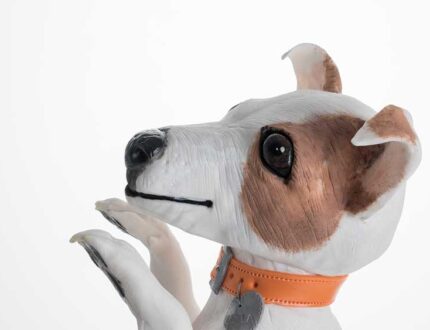
Paul starts off by creating a fur effect using a very quick and simple technique and then makes the ears from sugarpaste.
12. Adding the head and tail
Paul now adds the head to the cake and shows us how to blend it in as though it was never separated. Now it’s onto texturing the body and then adding the tail.
13. Painting pt 1
Paul gets his various edible dusts and brushes out and shows us how to bring the dog to life whilst keeping a close eye on the picture supplied for reference.
14. Painting pt 2
In this lesson, Paul starts the lesson by finishing the body off with white dust and then goes onto to add the aeris to the dog’s eyes
15. Adding the collar
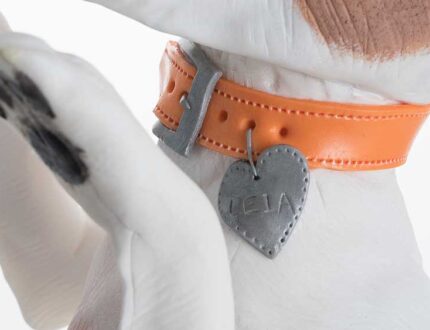
In this lessson, Paul adds the collar to the dog.
16. Finishing touches
Paul now adds the finishing touches to his cake and voila we have one very greedy pup!
17. Other ideas
Paul shares some other ideas you can try out during this project. We’re sure you’ve some of your own, and we’d love to see what brilliant alterations you’ve made.
Share your pics with us on our Facebook page.
18. Pro lesson
Paul shares some insider information about the cost to make this cake. He also shares his advice on pricing, portions and other vital information necessary for any professional cake designer.
Learn how to make this standing dog cake…
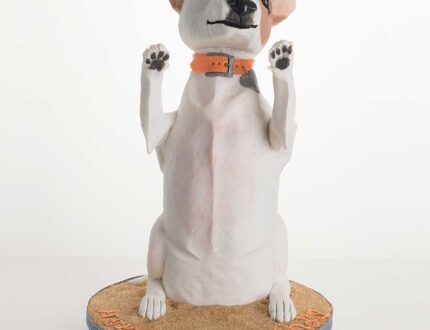
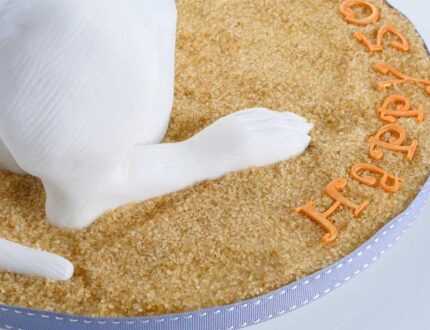
In this tutorial, Paul Bradford teaches you how to make this cute standing dog cake. Although, Paul makes a Jack Russell in the video. This tutorial can be used for a whole host of dogs, pets and other ideas. Perfect for any animal lover, this tutorial is packed full of fantastic techniques to learn!
In this tutorial you will learn:
- Cake carving
- Covering awkward shapes
- Modelling with sugarpaste
- Edible paintwork
- Airbrushing
- and much much more!
Don’t forget to share your interpretations of this wonderful cake with Paul and rest of the Sugarcraft community on our Facebook group.
Who knows? You may even end up featured in one of our monthly members’ cake blogs.
