Tutorial Preview
Bite Sized
Watch Paul make Etna the dragon in just one minute!
Highlights
Some hand-picked clips from the full tutorial.
1. Designing the cake
To begin, Paul shows you his exact method for designing this cake. From sketching the shape of the dragon to working out the sizes needed to build the internal structure.
2. Making the stand
In this lesson, Paul shows you how to build a food safe internal structure so that you have a sturdy stand to hold your cake in place.
3. Stacking the cake
In this lesson, you will learn how to stack the cake around the internal structure and use rice krispie treats to build the bottom.
4. Carving and ganaching
Now it’s time to carve the cake into the shape of the body and get ganaching!
Click here to see exactly how Ben Cullen makes his rice krispie treat recipe
5. Covering the cake and board
The next step to making our dragon is covering the cake in sugarpaste (fondant). Paul shows you an effective method to cover the cake with minimal joins.
6. Making the legs
In this lesson, Paul shows you how to shape and add the legs of the dragon.
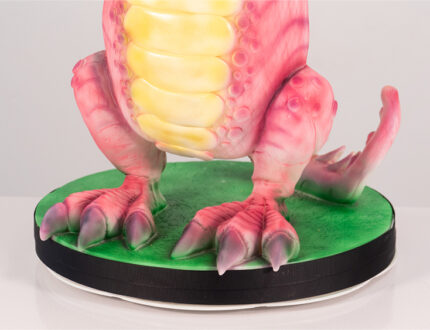
7. Making the feet
Now its time to make the scary feet and claws!
8. Making the neck
Paul finishes the body decoration and sculpts the neck in preparation for adding the head.
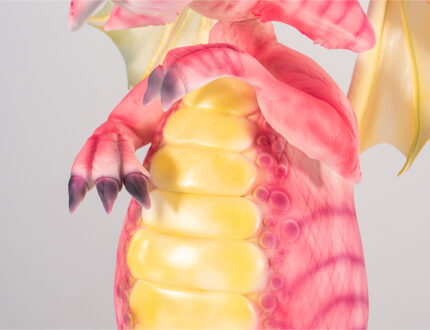
9. Making the arms and hands
Paul shows you how to add and shape the arms around the internal structure, then how to sculpt detailed hands.
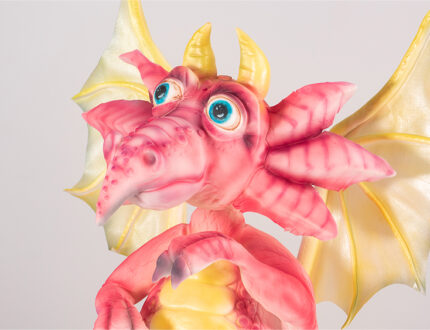
10. sculpting the face
For the dragons head, we are using a polystyrene balls. The balls are then covered in sugarpaste and we begin to sculpt and add the features.
11. Making the ears and horns
Paul shows you a simple technique to making the ears and horns using your PME tools.
12. Making the tail
In this lesson, Paul adds the sugarpaste tail to the internal structure.
13. Adding the wings
Paul shows you a nice and easy way to make the wings using wafer paper.
14. Airbrushing
It time to get the airbrush out! In this lesson, Paul shows you how to prepare you airbrush and add all the colour and shadowing.
15. Finishing touches
We end with some finishing touches to complete the cake!
16. Other Ideas
Paul shares some other ideas for you to use on your own design.
17. PRO Lesson
In this lesson, Paul shares everything you need to know on how to price and sell a cake like this.
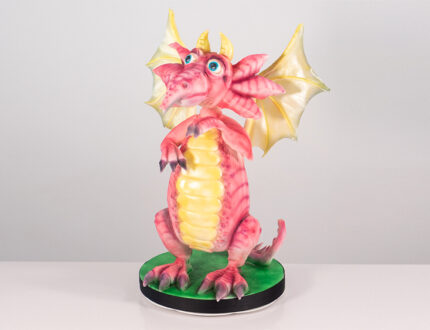
Etna the Standing Dragon Cake Tutorial
Learn how to make this 3D Standing Dragon, which is full of colour and character. First of all you will create a simple internal structure that can be re-used and adapted for any number of designs. Carving and covering the cake quickly follows, then its using a template to create the wafer paper wings. Again, skills and techniques that can be used on a number of designs. As always Paul will punctuate his commentary with stories and his usual light hearted approach to teaching.
In the following tutorial, you will learn how to…
- Carve and cover awkward shapes
- Create an internal structure
- Mould rice krispie treats
- Airbrush to create shading
- and much, much more!
Don’t forget to share your interpretations of this wonderful cake with Paul and the rest of the CakeFlix community on our Facebook group.
View hundreds of more world-class tutorials only at www.cakeflix.com.


