Tutorial Preview
Highlights
In this video we’ve carefully selected all the key moments to provide a starting point if you’re a little pushed for time.
1. Assembling the board
First up, Paul explains the design and then gets stuck in with assembling the cake board, with some hot glue and screws. Next he covers it and starts on the background design.
2. Cutting the cake
In this lesson, Paul cuts the cake using an image of a camper van blown up to size. He then cuts it into 3 sections and layers top of each other with ganache in between. Remember that you can add a flavouring of your choice to the cake before applying the ganache. Paul’s favourite is Irish Cream Liqueur.
3. Ganaching the cake
Paul ganaches the cake which is a simple process. It’s not a complex shape, so you could use buttercream, rather than ganache, if you prefer.
4. Covering the cake part one
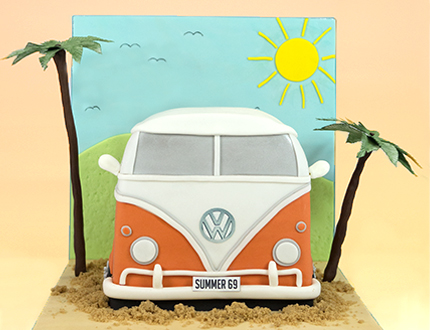
In this lesson Paul covers the cake almost to completion. For the biggest section Paul rolls out the sugarpaste to around 3mm. He uses 5mm for the roof using a burnt orange colour (white mixed with Massa Ticino red) and applies it with a little edible glue.
5. Covering the cake part two
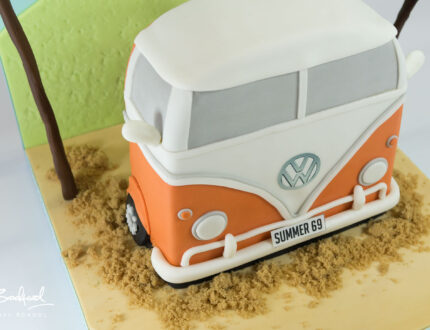
Paul finishes off covering the cake, by adding the roof with a thicker piece of white sugarpaste and placing it carefully to give it that signature brown over the windscreen.
6. Adding detail to the van part one
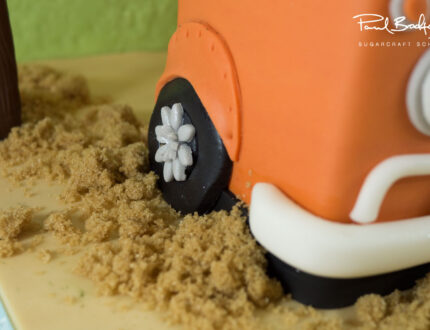
Paul adds the extra little flashes that add definition to the design of the van, using thin strips of white sugarpaste. Again it’s all about studying the picture of the van and trying to recreate it. He then goes on to create the tyres, using a very simple and quick method.
7. Adding detail to van part two
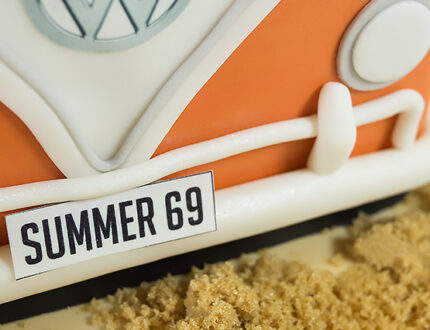
In this lesson, Paul continues to add some more detail making use of an extruder. A little vegetable fat mixed into the sugarpaste helps it through the extruder.
8. Finishing the van
Paul finishes off the van by adding extra little details as well as the wheel arches and of course the famous VW sign. Paul uses an edible printer for the fantastic looking sign. Making one from sugarpaste wouldn’t be too difficult either, if you have the time. And the final touch? Those all-important wing mirrors.
9. Decorating the board
Next up, Paul decorates the board by adding a cute hill scene, complete with sunny blue skies. Paul uses scrunched up tin foil to quickly add texture to the grass which has a nice effect. You could go a step further and dust the grass and the sun, or add some painted or sugarpaste clouds. There’s so much that could be done – just let your imagination guide you!
10. Finishing touches
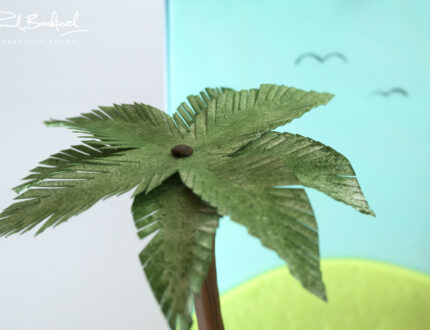
In this lesson, you can find out how to create quick and easy palm trees which you can make time and time again, using only white paper, green dust, a little brown sugar and some wire. Paul then covers the board with some brown sugar and paints on the birds flying in the distance.
11. Other ideas
Get even more inspiration for your oh-so groovy cake!
We’d love to see your take on the Summer Lovin’ Camper Van – please share your snaps with us on our Facebook page.
12. Pro lesson
In this lesson, Paul steps in to talk about pricing, costing and so much more… It’s vital information for any professional cake designer.
In this tutorial, Paul demonstrates how to take a 8″ square chocolate cake and turn into a 60’s style camper van filled with delicious ganache. You’ll be pleased to know that this cake is ideal for beginners, but could easily be turned into a much more complicated design – if you fancy stretching yourself.
This cake can be adapted to suit all kinds of different occasions – and the skills learned will help you make plenty of original designs. You could even challenge yourself to create an entire van, having learned some basic carving. This cake would be brilliant for a birthday celebration or for any car enthusiast.
We’d love to see your version of the Summer Lovin’ Camper Van Cake – share your snaps with us on our Facebook page!
