Tutorial Preview
Highlights
Here we have carefully selected the key parts from the entire tutorial and condensed it into an 13 min long video. More than enough to get you started without taking too much time.
1. Preparing the cake
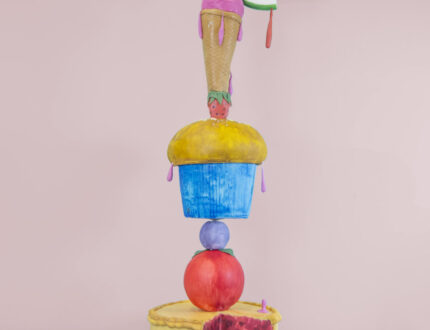
Raewyn starts off by showing us how to create the structure that will hold it all together and it requires very little DIY skills you will be pleased to know. She then goes on to prepare the cake which will sit at the bottom of the design.
2. Ganaching the cake pt 1
In this lesson, Raewyn works on getting nice sharp corners with the ganache and focuses mainly on where the slice has been cut so that when covered it looks as realistic as possible.
3. Ganaching the cake pt 2
Raewyn finishes off the ganaching of the cake using hot water and a palette knife as well as a brush to get a nice smooth finish before covering it sugarpaste.
4. Covering the cake
Raewyn covers the cake making sure to get sharp edges where the wedge of cake is cut, so there’s good use made of acetate smoothers.
5. Carving the cakes
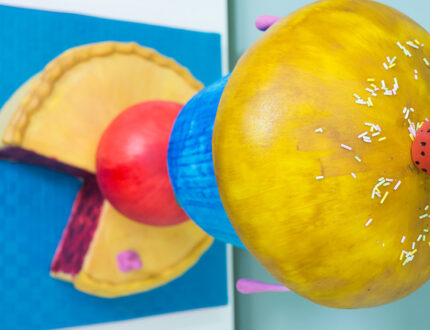
Raewyn now carves to create the cupcake which will sit further up the stacked design. She creates it in two parts and will then cover it and put it together on the rod.
6. Ganaching the cupcake
In this lesson, Raewyn covers the carved cakes in ganache and then gets them nice and smooth using acetate smoothers.
7. Covering the cupcake
Raewyn now covers both parts of the cupcake making sure it has a nice smooth finish again using acetate smoothers.
8. Covering the sphere
Raewyn now shows us a quick and easy way to cover the polystyrene sphere while it is placed over the rod.
9. Making the ice cream cone
In this lesson Raewyn shows us how to make an ice cream cone using rice krispie treats covered in dark chocolate ganache.
10. Painting the pieces of fruit
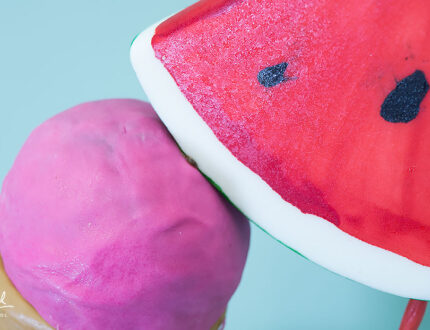
Raewyn starts to paint the various pieces of fruit using edible paints mixed with lemon extract.
11. Painting the pie
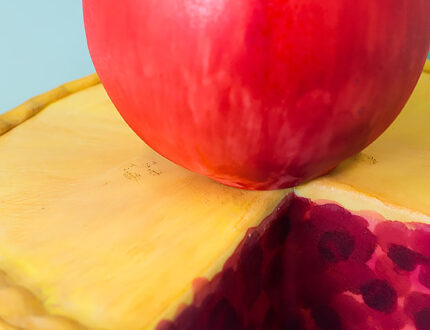
Raewyn moves on to turning the large cake into a cherry pie using lovely yellows, browns and reds.
12. Finishing the pie and the ice cream cone
Raewyn finishes off the pie by adding a pie crust and then painting it in a lovely work yellow tone. She then covers the ice cream cone using an impression mat, which helps give the texture of an ice cream cone.
13. Stacking the cake
In this lesson, Raewyn assembles the cake and adds some of the final pieces of fruit to complete the design.
14. Other ideas
Here Paul shares some other ideas you can try your hand at when making this cake. We’re sure you have some of your own great ideas and we’d love to see what you come up with.
Share your lovely pics with us on our Facebook page.
15. Pro Lesson
In this lesson, Paul shares some insider information about the cost to make this cake, as well as pricing, portions and other vital information for any professional cake designer.
We’d love to see your take on the Summertime Sweet Stack – so make sure you share your snaps with us on our Facebook page.


