Tutorial Preview
Highlights
If you are struggling to find the time to watch each and every lesson then this is the video for you. Here we have selected all the key points and condensed the whole tutorial into 10 minutes…more than enough to get you started!
1. The Design and Covering the Cakes
In this first lesson Paul explains to us the design and how he is going to bring it all together. Then it’s straight on to covering the cakes and decorating the lower tier in preparation for it becoming the characters jumper and coat.
To see how Paul covers a stacks cakes you can follow here to a free tutorial or if you are already a member you can click here (another cake with a very similar structure.
2. Finishing the Smaller Cake
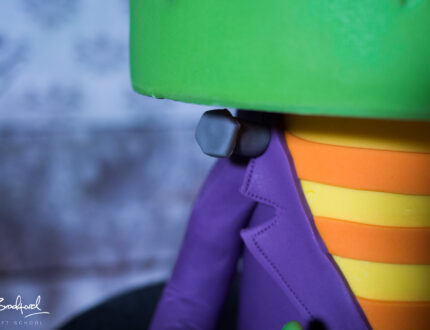
Paul is making quick progress here and shows us how to dress up the smaller cake in a cute coat complete with lapels. Paul didn’t have any purple sugarpaste so got creative and used a lavender sugarpaste with some purple colour gel mixed in. You should give this a try…get some gels and experiment with different colours to give your cake a unique look.
3. Icing the Board and Starting on the Face
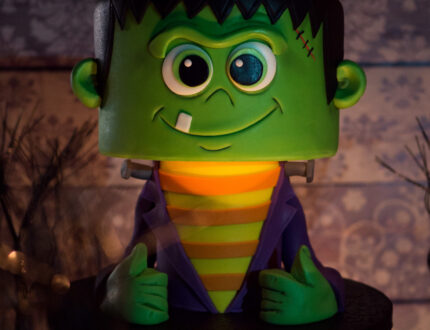
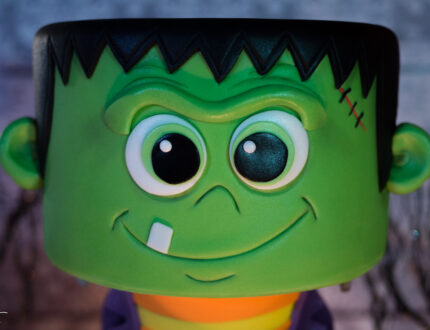
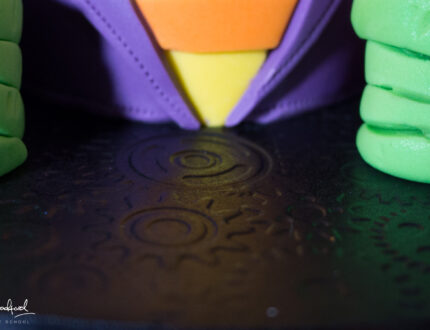
In this lesson Paul shows us how to use a cog impression mat which is part of a set of six impression mats. If you want to create your own texture, you can use things like scrunched up baking paper and dab the sugarpaste or cut out strips of sugarpaste and smooth them onto the board with your cake smoother. Paul then shows us how to start on creating the smile, eyes and the all important eyebrows which lend the little monster his devious look. Grab your circle cutters, edible glue, a rolling pin and a dresden tool and follow along.
4. Working on the Face Pt 2
Paul goes on to work on the face further, adding more detail to the eyes with the use of circle cutters and then adds a cute little stick out tooth.
5. Adding the Hair and Ears
Here Paul shows us how to add simple but cute hair to really start bringing it all together. A simple little trick with the dresden tool really makes the hair stand out. Paul then shows us a great quick and easy way of creating ears using a single piece of sugarpaste!
6. Stacking the Cake
Paul now stacks and supports the cake using plastic dowels. When sizing and cutting the dowels, it’s always good to use an edible pen to mark the dowels before cutting them with something like pliers. You may want to get a second pair of hand when lifting the larger cake as it can be quite tricky to do on your own.
7. Finishing Touches
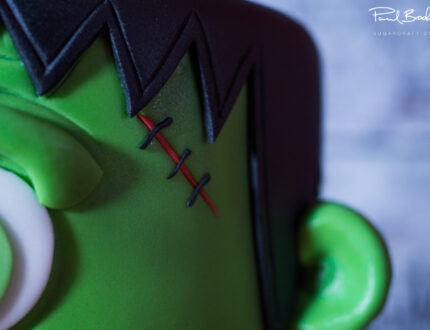
In this final lesson, Paul decides that he would like to give teenage Frankie a pair of arms. Don’t worry…this is actually very simple. A couple of long, thick sausages of sugarpaste and you are most of the way there. We need to create hands as well but again these are quite simple as they need to keep within a similar style to the rest of the cake. Paul then adds the bolts to his neck and a little scar. In the next lesson Paul shows us something else we can do to really bring him to life! Watch and find out.
8. Other Ideas
Paul shares some ideas that you can implement when making this cake to make it unique to you. We would love to see your versions of this cake so please share your pictures with us on our Facebook Page!
9. Pro Lesson
Paul gives some insider information for this cake including the cost to make it as well as how you should price the cake when selling it – vital information for any professional cake designer!
Paul introduces us to his innocently menacing Frankenstein’s Teenage Monster Cake…perfect for a spooky Halloween celebration! This tutorial is full of simple and effective techniques including modelling, creating edible clothes, dust work, working with impression mats and more! The cake can be made more complicated by adding further detailing or easier by simply leaving out the arms. Perfect for all skill levels, this is a fun cake to make for your Halloween party.
We would love to see your take on the Frankenstein’s Teenage Monster Cake – please share your pictures with us on our Facebook Page!
