Tutorial Preview
Highlights
Here we have carefully selected the key parts from the entire tutorial and condensed it into an 6 min long video. More than enough to get you started, without taking up too much time.
1. The design
Paul talks us through his inspiration for this spooky design, and gives an overview of how he’s going to put it all together. Watch Paul’s previous video on stacking cakes, or if you’re already a member, check out this tutorial.
2. Adding the legs and cloak
Once the cakes are covered Paul moves on to adding the legs and creating a black cloak, using sugarpaste and an impression matt.
3. Adding the arms
In this lesson, Paul shows us how to add simple arms which rest on the board. Next he prepares the shaft for the scythe.
4. Making the scythe
Paul creates the big blade for the scythe using his favourite foam core. The template for the blade is available in the templates section.
5. Adding the scythe and hands
Paul adds the scythe with some hot glue. He wraps a hand around and gives the Grim Reaper a friendly thumbs up – well, you don’t want to scare the kids too much!
6. Starting on the head
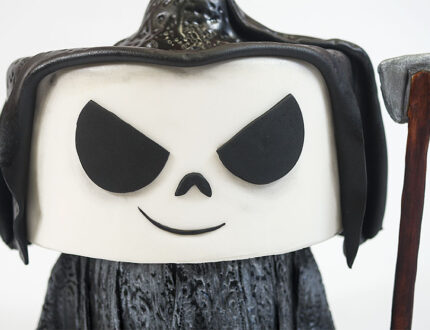
Paul adds the head to the design, followed by the eyes and nose. You can use the templates for the eyes or have a go at making some of your own.
7. Facial features and the cloak
Paul adds the Grim Reaper’s mouth and then prepares his cloak which drapes menacingly over his head.
8. Finishing touches
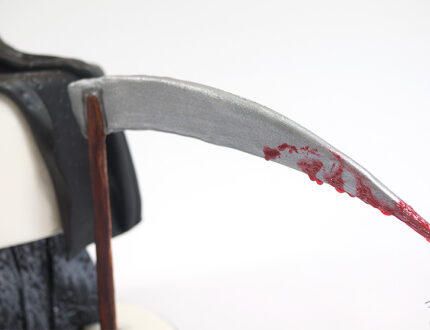
Paul adds the final touches, including some fairly gruesome blood to the end of scythe.
9. Other ideas
Paul shares some other ideas you can give a bash during this project. We’re sure you’ve some of your own great ideas and we’d love to see what you come up with.
Share your lovely snaps with us on our Facebook page.
10. Pro lesson
In this lesson, Paul shares some insider information about the cost to make this cake, as well as pricing, portions and other vital information for any professional cake designer.
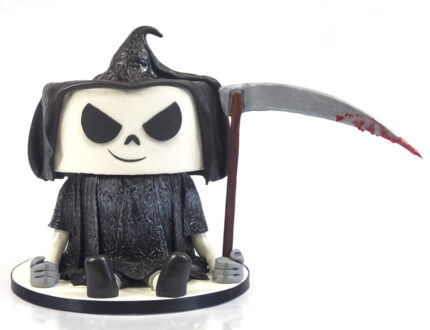
Don’t be scared – it’s just a cake! And actually, this little guy is kinda cute..
He’s the perfect centrepiece for a spooky Halloween celebration and is a sure fire hit with trick or treaters big and small.
This tutorial is full of simple yet effective techniques including modelling, creating edible clothes, dust work, working with impression mats and more. The beauty of this design is its flexibility – keep it simple by leaving out the arms, or make it more of a challenge by adding further detail.The Grim Reaper doesn’t discriminate, he’s happy for beginners to experts to give him a go!
We’d love to see your take on the Teenage Grim Reaper – share your snaps with us on our Facebook page.


