Tutorial Preview
Highlights
Highlights of the terraced garden cake tutorial.
1. Carving the cake
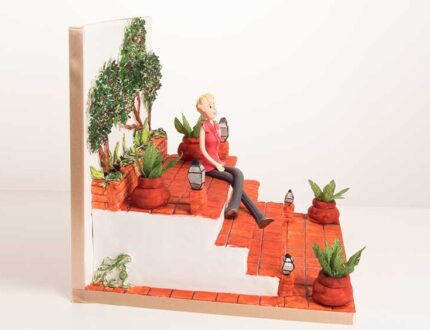
In this lesson, Paul carves the cake to create the step effect to start to give the terraced effect.
Make sure you get this part right to ensure that the shape is exactly what you are after before adding any decoration.
2. Ganaching the cake
The messy, but necessary part. Paul layers on the ganache to create the foundations for the rest of the cake before placing the cake in the fridge to chill.
3. Making the stand
Nothing too difficult here as Paul puts the two cake drums together at a right angle before making food safe then adding the cake.
4. Covering the terrace
In this lesson, Paul covers the terrace using cut out panels and by hand marks up the terracotta tiles. This can be time-consuming so if you have a brick impression mat that’s a quicker alternative.
NOTE: Sorry that the second camera came into shot, just trying to get those close-ups.
5. Finishing the terrace and adding the back wall
Paul’s added the side panels and starts to texturise the tiles to give them an authentic old Spanish look. Well they will, once they are painted!
6. Adding the raised bed
The garden starts to take shape when Paul adds the raised bed and start to add some plants. However, it isn’t looking very garden like yet, when will he add some colour?
7. Starting to add decorations
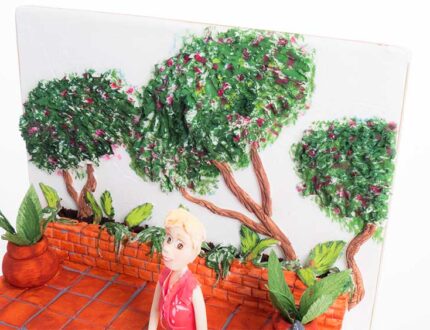
Paul cuts out some leaves and uses the extruder to make some vines then starts to decorate the back wall area of the terrace. There are a lot of little extras to add, but it will be worth it when you get the final look.
8. Adding the pots and lanterns
Paul makes a selection of simple plant pots and lanterns to decorate the terrace then starts on the palm trees.
9. Painting the terracotta tiles
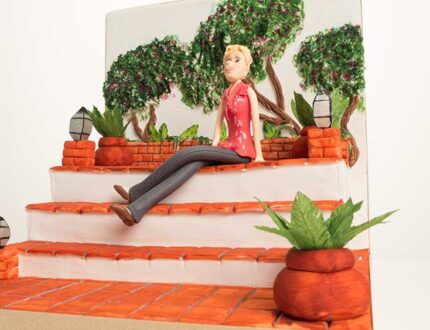
Paul plays with mixing his colours to get the terracotta shade that he’s after then paints the terrace to great effect. He paints the pots too which just adds to the traditional Spanish look.
10. Adding the grout
Creating his grout colour Paul then puts in the lines between the tiles and bit by bit this lovely design comes together.
11. Painting the leaves and foliage
Things don’t always go according to plan as Paul struggles to get the right colour mix for the leaves, but he gets there. I’m sure we’ve all been there trying and testing under time pressure so worth watching to see his thought process and the results.
12. Decorating the scene
This is where you can get artistic and create your own design and style or follow Paul as he paints and colours the various plants and decorations to create this amazing scene.
13. Making the model
Paul has a picture to work from of the lady who’s going to receive the birthday cake, but he uses his quick and simple techniques to create the legs, body and arms before painting on her favourite dress.
14. Adding models head
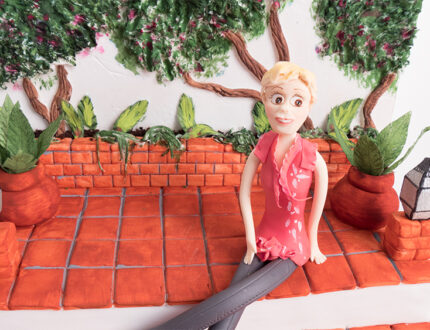
This is a little more intricate and requires some detailed modelling techniques, but just follow Paul’s guidance and you’ll get a lifelike face. Just trust the process!
15. Finishing touches
Paul adds the make-up and hair to finish the head and goes around with his magical finishing touches.
NOTE: Sorry that the second camera came into shot, just trying to get those close-ups.
16. Other ideas
Paul shares with you some other ideas for this type of design.
17. Pro lesson
Paul shares everything a professional cake decorator needs to know for a design like this.
Terraced Garden Cake Tutorial…
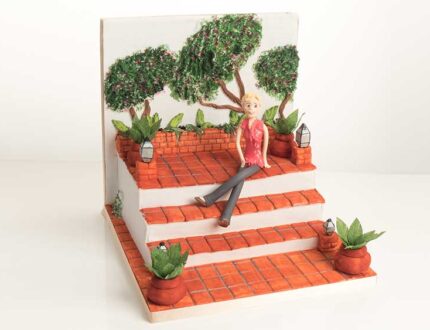
In this tutorial, learn how to make this beautiful terraced garden cake with Paul Bradford. With intricate patterns, edible plants and sugar models there’s lots to learn in this tutorial!
This lessons learned in this tutorial can also easily be interpreted to wherever your imagination takes you.
In this tutorial, you will learn how to…
- Paint edible terracotta tiles
- Carve steps
- Make a stand
- Create a raised bed and trees
- and much, much more
Don’t forget to share your interpretations of this wonderful cake with Paul and the rest of the Sugarcraft community on our Facebook group.
