Tutorial Preview
Highlights
Here we have carefully selected all the key parts form the tutorial that should show you more than enough to get started. Perfect for those of you struggling to find the time to watch the entire tutorial.
1. The Design and Preparing the Coloured Squares
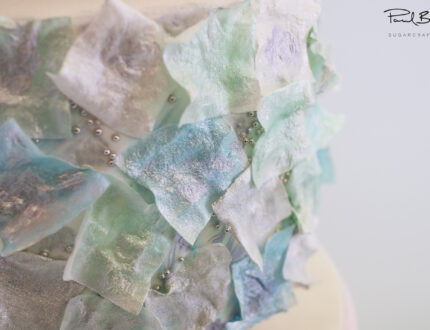
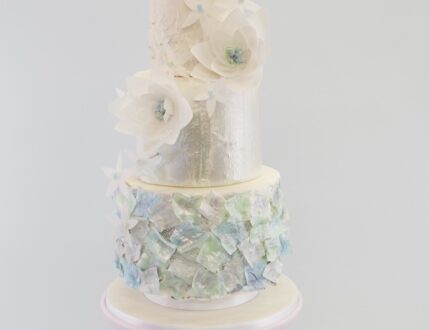
Paul introduces us to his design and has already ganached and covered his cakes. To learn how to ganache prepare and stack cakes click here. Paul then goes on to prepare the main design element of the cake using wafer paper and lovely paints.
2. Decorating the First Tier
Here Paul shows us a great way of using soft peak royal icing and edible paints to create lovely unique textures. I don’t want to give anything away but it’s incredibly quick and easy. Watch to find out! Paul uses edible silver balls but you could use anything you like. Get creative!
3. Decorating the Second Tier
Paul comes up with another simple and brilliant way to create lovely textures using wafer paper and edible paints. Say no more. Watch to find out!
4. Decorating the Top Tier
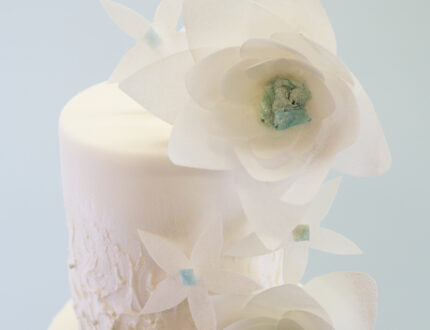
Once again Paul is using royal icing to texture the cake but this time is using stiff peak royal icing. Just a small palette knife and some stiff peak royal icing in a bowl and we’re all set.
5. Making the Flowers
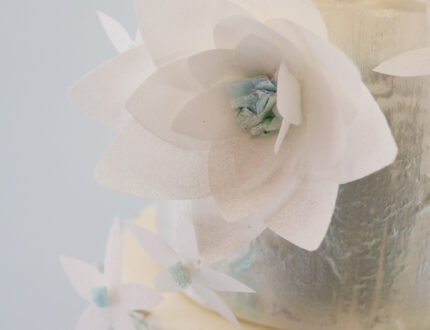
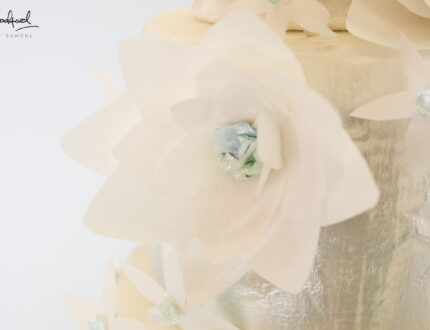
Here Paul shows us how to make lovely simple flowers using wafer paper and discs of flower paste. A very simple technique that is a fairly quick process once you get going and no doubt will be a technique you use more often in the future.
6. Stacking the Cake
Things are moving along quickly and now it’s time to stack the cake. Just a little ganache or royal icing to stick the cakes down and then allow to set for a little bit.
7. Painting the Cake and Attaching the Flowers
Here Paul adds some further texture to the cake by painting it with lovely metallic colours and then goes on to add the lovely wafer paper flowers. Paul attaches them with little balls of sugarpaste with toothpicks pierced through them. Later Paul will show us how to hide the toothpicks or at least make them look pretty.
8. Finishing Touches
In this final lesson Paul shows us a nice way to finish the little flowers using up the rest of the coloured squares so nothing goes to waste. He then goes on to show us a nice way to finish it all off with a little spray and some lovely white ribbon.
9. Other Ideas
Here Paul share some ideas that you can implement when making this cake to make it unique to you.
10. Pro Lesson
In this lesson Paul share some insider information vital for any professional cake designer.
We would love to see your take on the Textured Wedding Cake – please share your pictures with us on our Facebook Page!
