Tutorial Preview
Bite Sized
Watch Paul create his little monster cake toppers in just one minute!
Highlights
watch a collection of some hand-picked highlight clips taken from the full tutorial.
1. Making rice krispie treats
In this lesson, you’ll find out the recipe for making rice krispie treats. This quick and easy recipe is great to use for cake toppers or as an edible replacement for polystyrene. To save time, you can make as many batches as you want at the same time and keep them in an airtight container allowing for months of use!
2. Moulding the bodies
Once we have made our rice krispie treats, the next step is creating the shape of the bodies for our three little monsters.
3. Covering the monsters
It’s very quick and easy covering the body shapes meaning we can swiftly move on to decoration!
4. Working with wafer paper
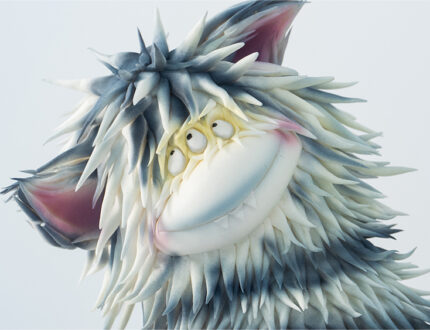
For Flumpy Lumpy, our first monster, Paul decides to go with wafer paper for covering the body.
5. Adding the arms and ears
In this short lesson, Paul shows you how to make the arms and ears and attach them to the model.
6. Airbrushing
Now it’s time to add some colour to Flumpy Lumpy using the airbrush! Paul shows you how to use an airbrush and mix colours to get the perfect shade.
7. Adding the teeth and eyes
We’re almost done with Flumpy Lumpy, all that’s left to do is add on the eyes and teeth then give him more detail using dust.
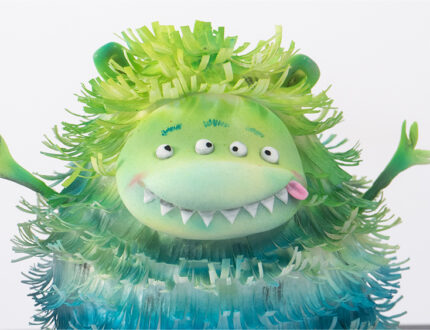
8. Basil Prazzle
Now we’re moving on to the next monster, Basil Prazzle! In this lesson, you’ll learn another way to create a fur effect using sugarpaste. This technique takes a lot longer than the wafer paper technique however the results are amazing!
9. Airbrushing
We’ll that took a while, didn’t it? But it was all worth it, now its time to give our monster some colour using the airbrush.
10. Adding the eyes and teeth
All that needs to be done now is to add the eyes and teeth then on to the next monster!
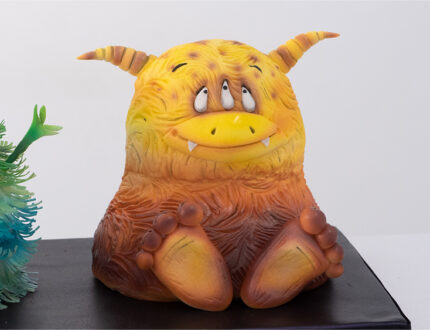
11. Marvin Munster
Now it’s time for the fastest and final fur technique, using imprint mats.
12. Sculpting features
In this lesson, you will see how to sculpt the face, feet, toes, horns and adding detail to those features.
13. Adding colour
Time to get the airbrush out one final time and add some colour to Marvin Munster!
14. Finishing Marvin Munster
All that’s left for Marvin Munster is to add the eyes and paint on some more detail.
15. Transferring to the board
Now that all our monsters are complete, we need to transfer them safely on to a board for a perfect presentation.
16. Other Ideas
Paul shares some other ideas to use on your own designs.
17. PRO Lesson
The pro lesson is all about how to price, sell and distribute your own wonderful creations!
Three Little Monsters Cake Toppers Tutorial
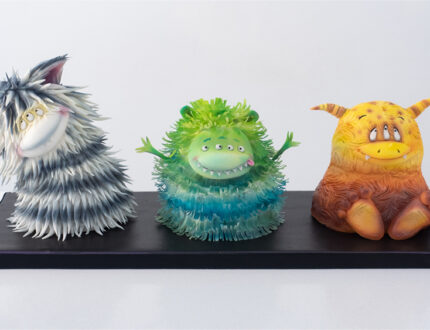
In this tutorial, multi-award winning Paul Bradford shows you how to make 3 little monster cake toppers for Halloween! But of course, they can be adapted in any number of ways to suit your event or cake. Each monster has its own unique style, with 3 different fur techniques. This tutorial is a lot of fun and we are sure you will have a lot of fun making them!
In the following tutorial, you will learn how to…
- Sculpt Rice Krispie treats
- Create different fur textures
- Airbrush
- Sculpt using sugarpaste/fondant
- and much, much more!
Don’t forget to share your interpretations of this wonderful cake with Paul and the rest of the CakeFlix community on our Facebook group.
View hundreds of more world-class tutorials only at www.cakeflix.com.


