Tutorial Preview
Highlights
Struggling for time? You’ve come to the right place. We have carefully selected all the key parts of the tutorial that you can view in no time at all to enable you to make this brilliant cake!
1. Cutting and Filling the Cake
All the templates are provided in the tools section
In this lesson, Paul starts us off by cutting the cake to size, layering it and filling it with dark chocolate ganache.
2. Ganaching the Sides
Here, Paul smothers the sides of the cake in dark chocolate ganache before smoothing it all off.
3. Trimming the Edges
Paul trims the excess ganache from the edges of the cake before ganaching the top!
4. Finishing off the Ganache
Paul spends this lesson finishing up the ganaching duties, giving it a nice even finish.
5. Applying the Fondant & Adding the Texture
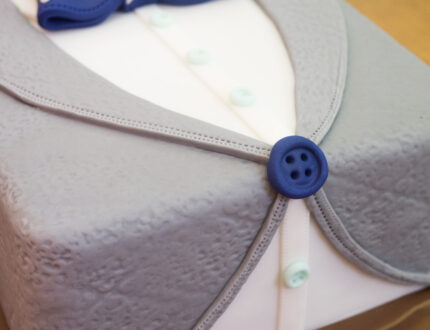
In this lesson, Paul adds a textured pattern to the grey fondant, making it feel more like a jacket, before applying it to the cake.
6. Cutting out the Jacket Shape
In this lesson Paul uses his template to cut out a whole for the white shirt to be placed into giving the illusion of a shirt being underneath. All the templates can be found at the top of the “Tools” section.
7. Adding the White Shirt
Paul spends this lesson fitting the white fondant shirt into the grey fondant jacket.
8. Adding the Shirt Seams
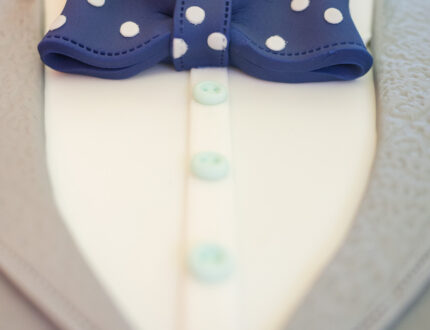
In this lesson, Paul brings a bit of life to the shirt by adding in the seams.
9. Adding the Shirt Collar
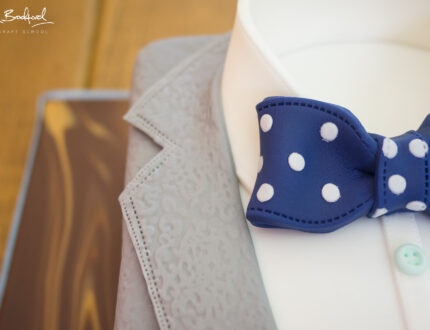
A shirt is nothing without its collar! Paul spends this lesson adding a white fondant collar onto the shirt.
10. Adding the Jacket Lapels
The jacket starts to take shape as Paul applies the lapels to the cake.
11. Creating the Bow Tie
This cake takes a drastic turn into hipster territory as Paul creates a polka dot bow tie. Using a small plunger cutter will really speed things up as you see in this lesson so it might be an idea to get one if you don’t already have one.
12. Creating the Buttons
In this lesson, Paul puts the finishing touches on the jacket and shirt by adding the buttons!
13. Creating the Marble and Adding the Ribbon
Finally, Paul gives this cake a classy finish by adding a marble effect to the cake board before lining it with a light blue ribbon.
14. Other Ideas
Paul shares some ideas that you can implement into your own version of this cake to make it unique to you; including, changing the colour of the shirt, making it more formal by using black fondant and adding a tie instead of a bow tie, change it to a blouse for a more feminine look, plus more!
We are sure you have some of your own fantastic ideas and we would love to see them. Please share your pictures with us on our Facebook page.
15. Pro Lesson
Paul discusses the cost of making the Tuxedo cake as well as what he would charge for the cake – useful tips for any professional cake designer.
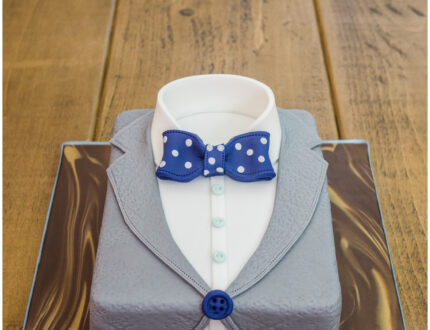
Paul introduces us to his classy Tuxedo Cake perfect for a special man’s graduation celebration, birthday or any fancy event. This cake is brilliant for beginners and uses a lot of different techniques including working with ganache, covering a cake, creating fabric textures, covering a board and more! This cake can easily be personalised by adapting the colours and patterns on the bow tie, shirt and buttons.
We would love to see your take on the Tuxedo Cake – please share your photos with us on our Facebook Page!


