Tutorial Preview
Highlights
Highlights from the course.
1. Covering the lid and board
As this design will be using vertical stripes around the sides Michelle shows how to cover the tops of the tiers and then shows her own way of covering the board.
2. Covering the double barrelled dummy
In this lesson, Michelle takes you through the stages of covering a round dummy cake, which is so much easier than covering real cake.
NOTE: For help covering, stacking and ganaching a double barrelled cake click HERE.
3. Adding the ruching ruffles
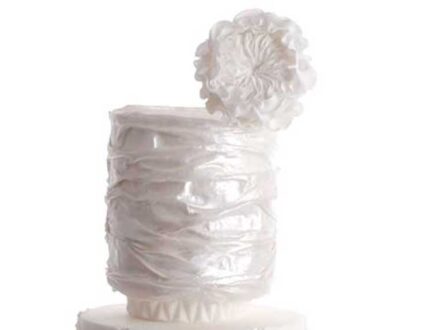
Learn how to get an amazing finish as Michelle uses the flexique edible fabric give this very eye catching end result. This is an excellent technique with endless opportunities once you’ve mastered how to use the flixique fabric.
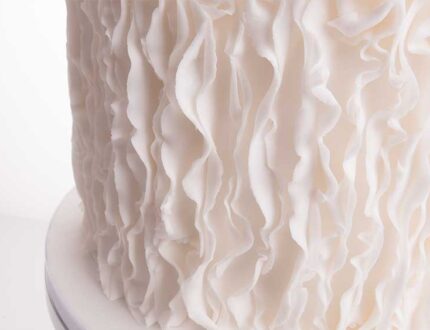
4. Adding the vertical ruffles
With another amazing technique Michelle starts to decorate the bottom tier using vertical ruffles. You can see the flowing effect this technique has so watch how Michelle creates the ruffles and adds them to the cake to great effect.
5. Stacking the cakes
After displaying the finished vertical ruffles Michelle adds a nice little border to the separator before moving on to stack the cakes. Michelle is using styro dummy cakes, which makes stacking that bit easier. Michelle explains that if this was a real cake then she would have a central dowel then support dowels for each tier.
NOTE: For lessons on stacking real cakes click HERE.
6. Finishing the ruffles
After leaving the cake to set overnight Michelle spotted a couple of gaps with the finish the next day. It’s worth learning how she seamlessly fills the gaps to give that extra neat finish, which is so important for this design.
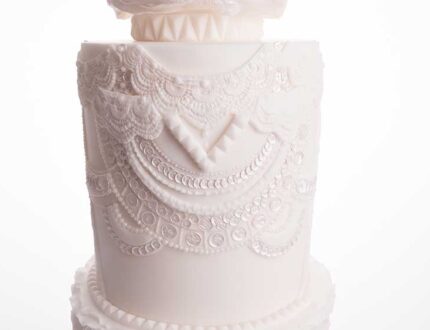
7. Adding the art deco mould
The theme of this design really comes to life when the art deco mould is added to the top of the middle tier. This sets the theme for the rest of the eye catching design and is a simple, but very effective, way to add decoration.
8. Adding the circle centrepiece
The centre tier starts to build as Michelle adds this lovely circle design overlayed by the art deco mould. It really does give the cake a look of royalty.
9. Decorating the centrepiece
Lots going on in this decoration, which really is the star of the show with this design. Michelle starts by adding sequins, then a decorative border and building up the design from there with some piping techniques thrown in for good measure.
10. Extending the centrepiece
Using some more border and sequin decorations Michelle neatly frames the centrepiece to show it off at its best.
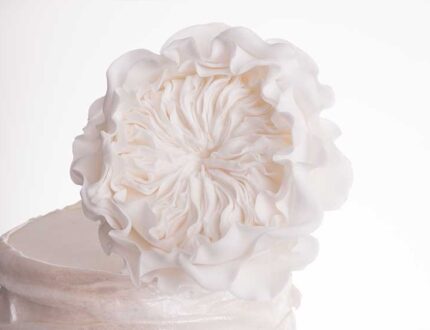
11. Making the David Austin vintage rose
Michelle takes us through her David Austin rose which requires no wires whatsoever. Using simple techniques she elegantly builds the petals, which result in amazing finish to match the cake beautifully.
12. Other ideas
Michelle shares with you some other ideas you can make for this design.
13. Pro lesson
Everything someone who is selling this cake needs to know about costs etc
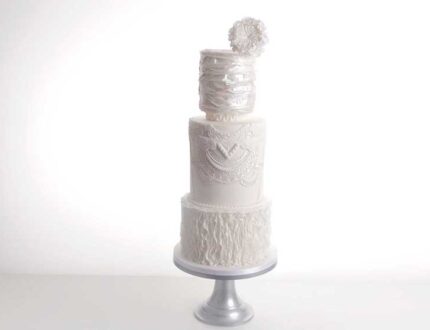
Vintage Glamour Cake Tutorial
Learn how to make this vintage glamour cake with this easy to follow tutorial from the incredible Michelle Smith. This stunning design is perfect for a white wedding. Full of intricate skills and techniques, there’s plenty to learn with this one!
In this tutorial you will learn how to…
- Create vertical ruffles
- Make a David Austin statement rose
- Lace sequins
- Use lustre to great effect
- and much, much more
Don’t forget to share your interpretations of this wonderful cake with Paul and the rest of the CakeFlix community on our Facebook group.
View hundreds of more world-class tutorials only at www.cakeflix.com.
