Tutorial Preview
Highlights
Here we have carefully selected the key parts from the entire tutorial and condensed it into on 6 minute long video. More than enough to get you started without taking too much time.
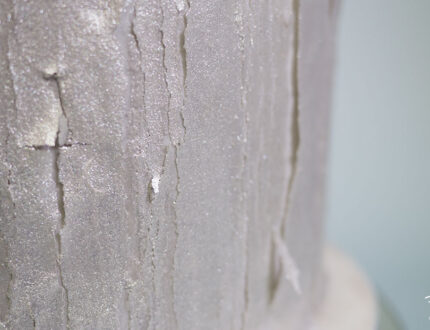
1. Creating the wood panels
In this lesson Paul experiments with the technique above to discover the quickest and easiest way to get the desired effect.
2. Adding the wood panels
To learn how to cover your cakes.
Now that the panels are ready, it’s time to add them to the cake and Paul shows us how to do just that.
3. Stacking and painting the cakes
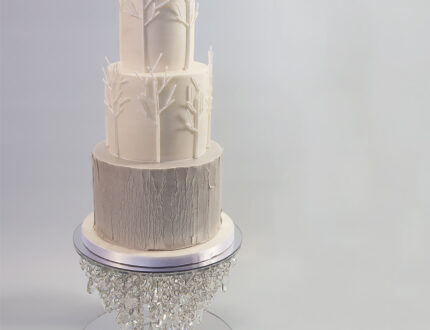
Paul starts by stacking the cakes, which you will have seen how to do following the previous link to the covering a cake lesson. He then shows us how to create a lovely brushed metal look, using dusts and two different types of brushes.
4. Making the piped trees
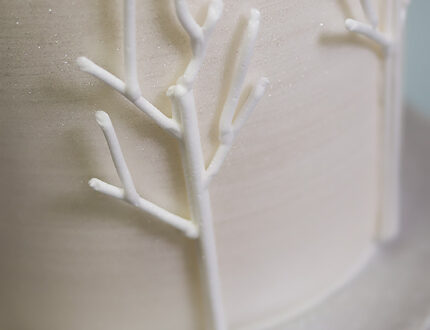
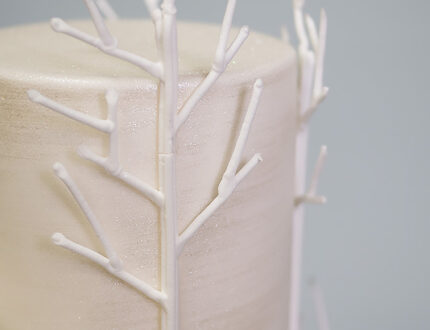
In this lesson Paul shows us how to create the beautiful piped trees. Paul uses a pre-mix for the royal icing and works it to a stiff peak consistency. To learn how to make your own from scratch read this guide. Simply change the amount of water you put in to adapt the consistency.
5. Adding the trees
After letting the trees dry a little, carefully lift them from the cellophane and attach them to the cake with thin strips of royal icing. Ideally you want to leave the piped trees to dry overnight, but Paul doesn’t have enough time.
6. Other ideas
Here Paul shares some other ideas you can try your hand at when making this cake. We’re sure you have some of your own great ideas and we’d love to see what you come up with.
Please share your pics with us on our Facebook page
7. Pro lesson
In this lesson, Paul shares some insider information about the cost to make this cake, as well as pricing, portions and other vital information for any professional cake designer.
We’d love to see your take on the Winter Wedding Cake – so share your snaps with us on our Facebook page!


