Tutorial Preview
Bite Sized
Watch Deborah make her Woodland Wedding Cake in just one minute!
Highlights
Watch some hand-picked highlights from the full course.
1. Lesson 1 – The design and adding the woodgrain effect
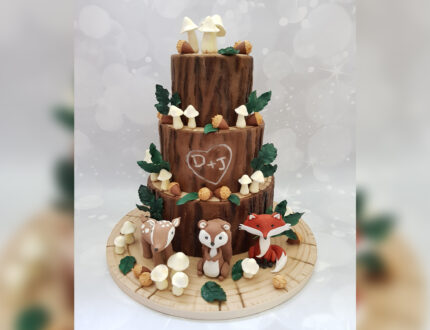
Deborah starts off this tutorial by explaining the design and then moves on to adding the woodgrain effect to the top of each tier and also covers the cake drum in a woodgrain effect. Be sure to watch the start of the next lesson before leaving the tops of the tiers and cake drum to firm up as Deborah adds a little more detail.
2. Colouring the woodgrain
In this lesson Deborah adds colour to the woodgrain to give it that realistic look. Then attaches the bottom tier to the cake drum ready to start covering it in the wood bark effect.
3. Adding the bark
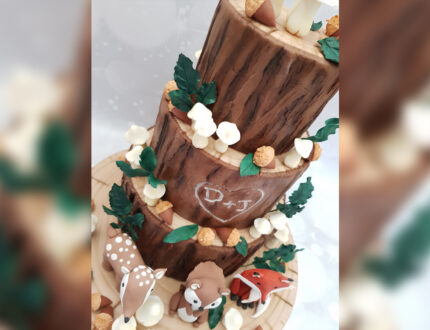
Here, Deborah explains how to work out how much sugarpaste you need to cover your cakes if using the Karen Davies Rustic Woodland Bark mould. Deborah then uses the mould to create the wood bark and uses dusts to create depth and tone to the bark. She then attaches it to the cake and blends the joins.
4. Bark effect without the mould
Don’t worry if you don’t have the Rustic Woodland Bark mould, in this lesson Deborah creates the wood bark without using a mould.
5. Adding and painting the initials
In this lesson Deborah adds the heart and initials to the wood bark for the middle tier. Deborah then paints them and attaches it to the middle tier.
6. Making the leaves
Deborah starts the decorations – mixing the colour for the leaves and makes both wired and un-wired leaves.
7. Making the mushrooms
In this lesson Deborah makes mushrooms of differing sizes and adds tone to them.
8. Making the acorns
Deborah makes the acorns in this lesson, mixing the colours for the different parts, adding texture and finishes them by adding stalks and some colour dust.
9. Making the deer
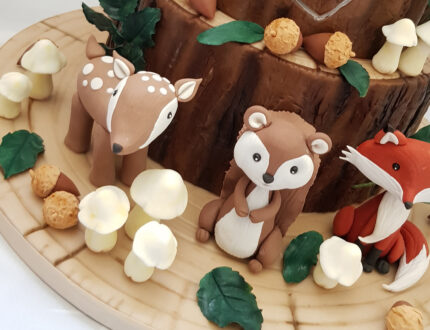
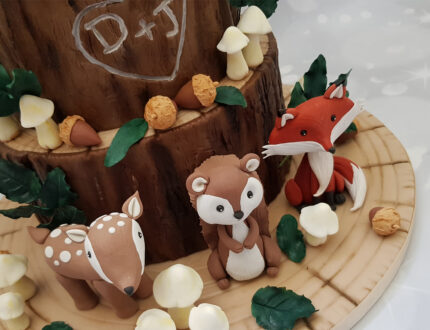
In this lesson Deborah makes the cute deer cake topper and explains how she mixed the colour.
10. Making the squirrel
Deborah makes the squirrel cake topper in this lesson, showing all the steps to create this cute topper.
11. Making the fox
Now it’s time to make the last cake topper, the fox. Deborah explains how to create the colour for the fox and shows all the steps needs to model this cute cake topper.
12. Dusting and adding the leaves
In this lesson Deborah dusts the leaves, tapes them together and adds some glaze to them to give them a realistic look. Deborah then glazes the cake to give it an even more realistic look and attaches the leaves to the cake.
13. Attaching everything to the cake
It’s now time to see it all come together. Deborah explains where she plans to place everything on the cake and then attaches everything in place and finishes it with a champagne ribbon trim.
14. Other Ideas
Deborah shares some other ideas to use on your own design.
15. PRO Lesson
In this lesson, Deborah talks about pricing and selling a cake like this.
Woodland Wedding Cake Tutorial by Deborah Edwards
Join Deborah Edwards in this amazing tutorial to make a fantastic woodland themed wedding cake complete with cute animals and floral decorations!
In the following tutorial, you will learn how to…
- Model three woodland creature cake toppers
- Cover a cake in a wood bark effect, with and without a mould
- Make a wood grain effect board
- Make wired and unwired leaves
- and lots, lots more
Don’t forget to share your interpretations of this wonderful cake with Paul and the rest of the CakeFlix community on our Facebook group.
View hundreds of more world-class tutorials only at www.cakeflix.com.


