Tutorial Preview
Highlights
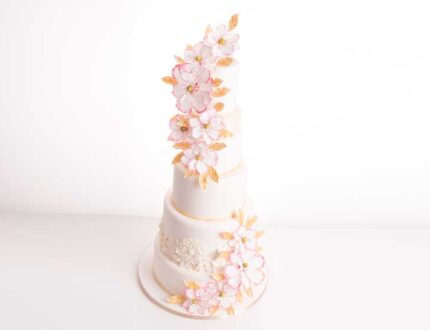
Highlights from the pink cascade cake course.
1. Explaining the design
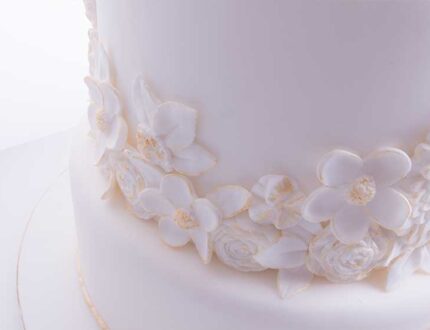
To get started Paul explains the different cakes and sizes before then decorating the separator with a pearl mould design. Paul already has the cakes covered then he goes onto stack them. If you need some guidance please follow the links below:
2. Adding the trim decoration
Detail is everything with this design and Paul shows how to create a beautifully decorated trim using simple techniques. It’s these extra details that will give this cake the WOW factor.
3. Adding the buttercream flowers
This cake will need a lot of decorations so Paul looks to a range of moulds to give him the variety of floral shapes and sizes to suit the design.
4. Arranging the buttercream flowers
With a selection of flowers and petals available Paul creates the design just using his eye and starts to build up the decoration very nicely. You can follow Paul or take on your own adaptation.
5. Making the leaves and petals
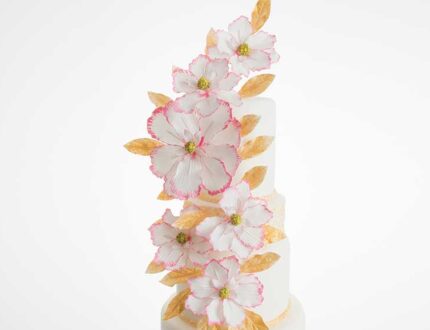
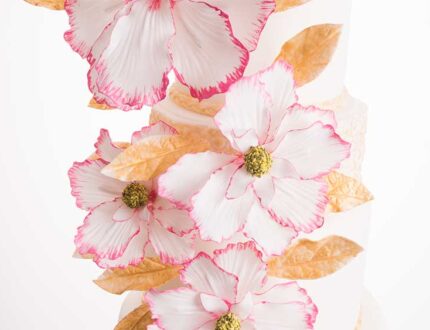
This cake requires a large number of leafs and petals so watch how Paul rolls out his florist paste until it’s see-through, then cuts and shapes a number of petals, leaves and buds.
NOTE: Paul ends up using 2 large flowers and 8 small, each have 8 petals.
6. Painting the leaves and petals
Choosing the right colours is crucial to achieve the overall look you are aiming to achieve. Paul goes for pinks and golds, but this is where you can link in the bridal colours to come up with your own adaptation.
7. Painting the decorations on the cake
After seeing the colours of the leaves and petals, Paul thought the rest of the cake lacked character. He then painted the key decorations areas around the floral moulds that he’d added earlier and also decorated the seperator.
8. Making the flower centres
Time to start the flowers. Paul starts by creating a lot of centres using wires, florist paste and a cool technique to make sure that they stay in place, but still giving a floral finish. Check out how Paul finishes them off at the start of Lesson 9.
9. Wiring the flowers
You know that you are getting close to seeing the results of all your hard work when you start to put the flowers together. Be careful here as the leaves will be brittle and you probably don’t have much colour left to create new ones in the same shade.
10. Adding the flowers
This is where the artistry comes in and you get to see the fruits of all your hard work. As Paul is using a dummy cake he just pops the flowers into the cake, but when using real cake or a competition piece you must ensure that you use posy picks or small straws to avoid any cross-contamination.
11. Finishing touches
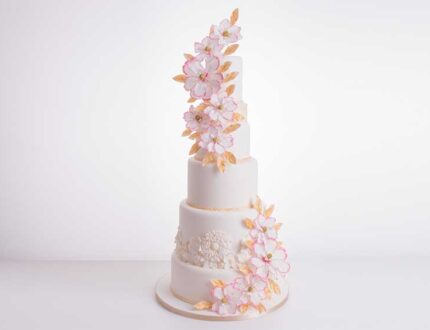
Some final tweaks and voila one 5 tier wedding cake!
12. Other ideas
Paul shares with you some other ideas that can be created through the skills and techniques you have learned in this tutorial.
13. Pro lessons
Paul shares with you everything someone selling this type of cake needs to know such as cost, price and delivery.
Learn how to make a 6-tier pink cascade cake with Paul Bradford!
In this tutorial, Paul shows you how to make this beautiful 6-tier pink cascade cake. A breathtaking design especially for weddings. There are so many wonderful skills and techniques to learn in this tutorial to make you a better cake decorator.
In the following tutorial, you will learn how to…
- Make detailed sugar flowers
- Use decorative moulds
- Flower arrange
- Use a variety of different painting techniques
- and much, much more
Don’t forget to share your interpretations of this wonderful cake with Paul and the rest of the Sugarcraft community on our Facebook group.
View hundreds of more world-class tutorials only at www.cakeflix.com.
