Tutorial Preview
Highlights
Highlights of Ben Cullen’s alien cake course.
1. Making the stand
Getting the stand right is fundamental to the structure and design of this alien. Ben talks through the various components, lengths and how best to secure the pieces to bring the structure together.
Note: The baseboard is raised by adding two strips of mdf taped to the baseboard which gives enough height to house the nut securing the central metal rod.
For Templates click on the Templates tab below.
2. Adding the krispie treats
You may have your own preferred brand or way to make rice krispie treats, but Ben is challenged with using marshmallows that he’s never tried before so watch how he comes up with the right consistency then adds to the legs and arm.
3. Carving the arms and legs
Time to get the serrated knife out and start carving those all important legs and arms. Be careful not to take too much off, but just enough to get the outline shapes.
4. Adding the body
Time to get the cake out and withthe template start to create the body shape. Don’t try to be too particular at this stage as we will soon be moving onto carving.
5. Carving the body and heads
This is where you start to give your alien some distinctive features by carving the shape. Spot Ben’s mistake as he starts carving back to front, but as it’s an alien the design is easily reversed.
6. Ganaching the cake
The cake now needs a good layer of ganache, getting into all these nooks and crannies. We’ve speeded this one up for you so you can see Ben ganaching at super fast speed.
7. Smoothing the ganache and covering the cake
You learn something new every day…and today Paul learned the benefits of using a steamer to smooth the ganache.
This is a big sculpture so lots of smoothing to do then Ben starts to roll out the sugarpaste to cover the alien, again lots of different shapes to achieve.
8. Adding the facial features
Before covering the head it’s important to add the protruding features. In this lesson Ben adds the alien’s eyes, nose and mouth pieces, which will later be covered.
9. Covering the head
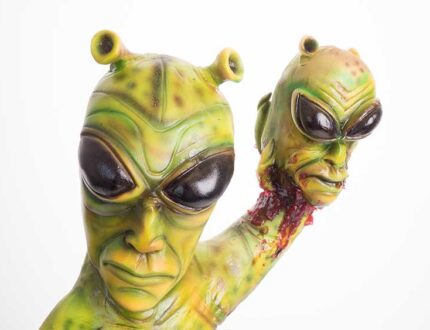
This part is a little bit tricky but watch how Ben covers the head then blends the sugarpaste to show off the alien’s important facial features.
10. Smoothing then adding more features
Time to bring all the sugarpaste pieces together, so time to bring out the steamer again. Ben then adds the missing arms, toes and nails.
11. Adding the arm and alien hand
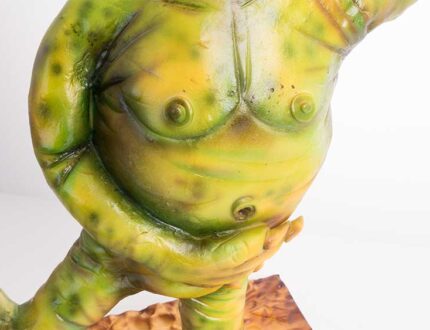
Time for the right arm to go on and the creepy looking alien’s hand. This along with some texturising really brings the alien to life.
12. Fingers, ears and nails
Our little alien is coming to life with some very human features, so it’s time for the fingers, nails and ears.
13. The small alien’s head
Almost just a smaller version of the main alien’s head, but with a couple of different features. This guy hasn’t had a very good day as you’ll tell from his expression!
14. Airbrushing
This is where the alien really comes to life. Watch the expert show how to build up airbrush colours to get an amazing finish, which takes patience, before finishing with a spray glaze layer.
15. Finishing touches
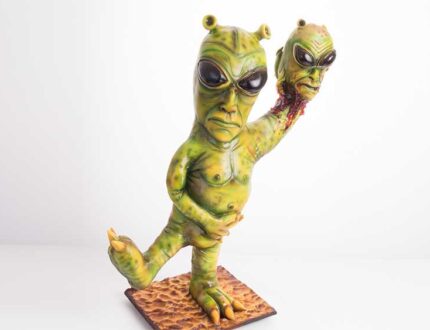
The final stage is to add some decoration to the board and that’s us finished, one gruesome alien!
16. Other ideas
Ben shares some other ideas you could make with the lessons you’ve just learned.
17. Pro lesson
Ben shares with you everything that a professional cake decorator or someone looking to sell cakes needs to know for a design like this.
Join the Bakeking Ben Cullen for his alien cake tutorial…
Learn how to make this incredible alien cake with Bake King Ben Cullen! Standing 2 foot tall, this extraterrestrial is extra tasty!
A world-renowned cake designer, Bakeking Ben Cullen is renowned for his big and bold designs which always catch the eye!
full of fantastic techniques, in this tutorial you will learn how to:
- Build a gravity-defying structure
- Effectively airbrush
- Carve awkward shapes
- Work with chocolate ?
- and much, much more
Don’t forget to share your interpretations of this wonderful cake with Paul and the rest of the Sugarcraft community on our Facebook group.


