Tutorial Preview
Highlights
Here, we’ve carefully selected the key parts from the entire tutorial and condensed it into a 8 min long video. More than enough to get you started without taking too much time.
1. Carving and ganaching the cake
Paul gets straight to it and stacks, carves and ganaches the dress from lovely chocolate cake. In the tutorial Paul’s using dark chocolate ganache as it stands up to heat better and will last longer, but you might want to go with milk or even white, which tend to be more palatable for children.
2. Covering the cake
Paul now rolls out the sugarpaste to around 3mm then covers the dress in one large piece.
3. Making the upper body
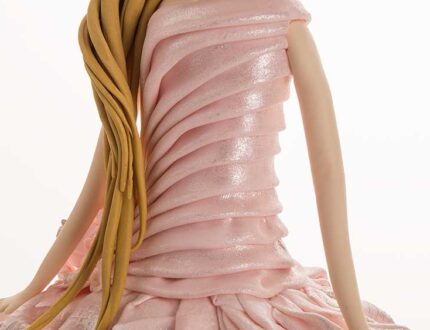
Learn how to create the upper body by shaping flesh coloured modelling paste.
4. Making the dress pt 1
Paul mixes up some pink and white modelling paste to get a nice marbled effect for the dress, which he then cuts to get the design he’s after. He then adds some lovely pieces of lace work, which can be laborious so he finishes off camera.
5. Making the dress pt 2
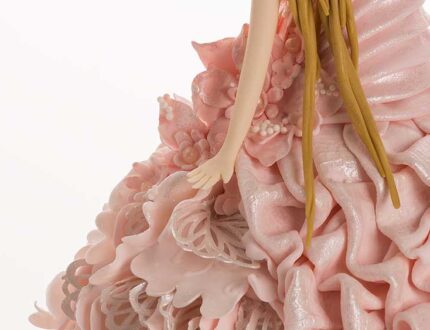
Moving on to the second section of the dress Paul makes use of his pasta roller to get lovely thin strips of modelling paste, which he then scrunches up to create a lovely ruffled texture.
6. Making the dress pt 3
Starting to decorate the dress, Paul rolls out some pink modelling paste using the pasta roller, then gets the design using his flower cutters.
7. Making the dress pt 4
Starting to finish off the decoration, Paul uses some lovely dusts and some nice edible balls and begins to bring the dress to life.
8. Finishing the dress
To finish the dress, Paul adds a little bling with some edible dragees, then brushes on a lovely blushing pink lustre.
9. Making the arms
Learn how to make the arms using one strip of modelling paste and some intricate handwork.
10. Making the head
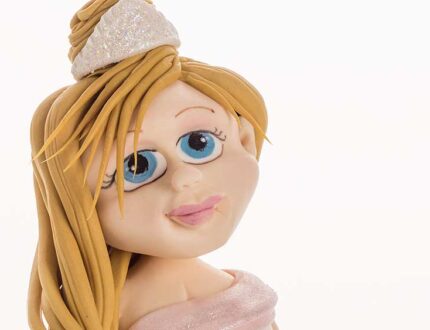
Paul makes the head using just one piece of modelling paste. This is as opposed to separate pieces for the nose and so on which, gives it a very natural feel.
11. Painting the head
This is where Paul changes the look of the head from something more likely to resemble an alien to that of a princess. It’s the magic of using dusts and small paintbrush that really bring her to life.
12. Making the hair
Paul mixes up some brown and yellow modelling paste to make the hair, then gives her a nice modern hair style.
13. Finishing touches
To finish the hair off Paul adds a cute little tiara using some white modelling paste and a little sparkle.
14. Other ideas
Paul shares some other ideas you can try out during this project. We’re sure you’ve some of your own, and we’d love to see what brilliant alterations you’ve made.
Share your pics with us on our Facebook page.
15. Pro lesson
In this lesson, Paul shares some insider information about the cost to make this cake, as well as pricing, portions and other vital information for any professional cake designer.
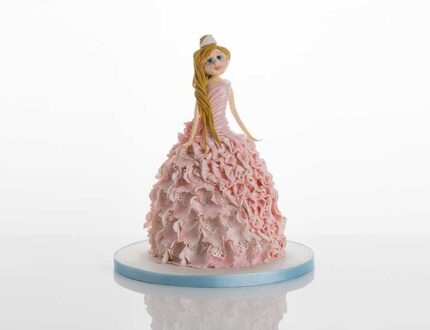
Paul noticed that his original doll cake from a few years ago was very popular but was well overdue an update so here we are with the lovely Blushing Princess! Paul decided to go the whole hog and make the entire project edible with fantastic modelling work making up the upper body.
This design is perfect for a child’s birthday and could be used for various larger celebration by having the princess standing on a tiered cake. A striking design that can be adapted in numerous ways and the possibilities of various characters are endless.
Follow this tutorial to pick up some new skills and techniques, which include stacking and carving the cake to the desired shape, working with ganache, creating a beautiful edible dress, working with cake lace, modelling work, edible paint work and lot’s more. Perfect for an intermediate cake designer looking to progress to some more advanced techniques.
We’d love to see your take on the Blushing Princess – so make sure you share your photos with us on our Facebook page.


