Tutorial Preview
1. Icing the Cake
2. Adding the Stripes
3. Placing the Stripes
4. Bottom Tier Flowers Part 1
5. Bottom Tier Flowers Part 2
6. Flowers Part 1
7. Flowers Part 2
8. Placing the Flowers
If you need any help working with or making royal icing you can learn all about it here.
9. Adding the Leaves
10. Finishing the Tier
Tip: A green leaf can be added to the royal icing dot design.
11. Modelling
Tip: Use tylose powder to make a strong figure.
12. Making the Upper Body
13. Bride's Head
Tip: Make nice big eyes as it’s the most important thing for a cartoon style.
14. Bride's Hair Part 1
Tip: Try to match the colour of the actual bride’s hair.
15. Bride's Hair Part 2
16. Tiara and Dusting
Tip: You can use diamantes for the tiara but remember, they’re not edible!
17. The Groom Part 1
18. The Groom Part 2
Tip: Leave the pieces out to dry overnight to strengthen them.
19. Groom's Hair
Tip: You can also use a garlic press for the hair strands, it’s quicker but doesn’t look as nice as the handmade approach.
20. Finishing Touches
21. Other Ideas
22. Pro Lesson
23. Supporting Lesson
This is a Lesson from Faye Cahill’s popular Shimmering Lace Wedding Cake tutorial, where Faye goes through her painting techniques.
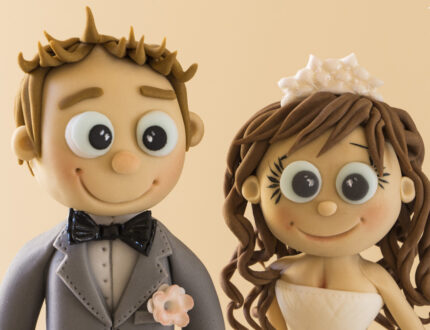
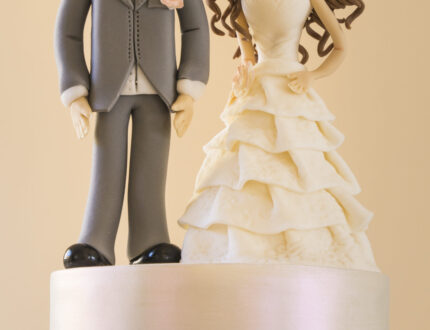
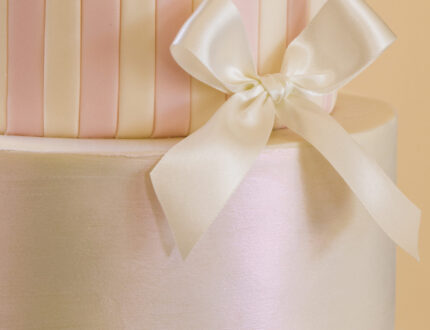
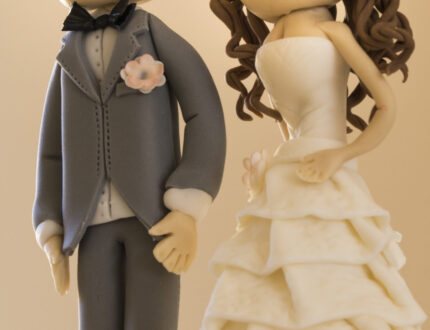
The Bride and Groom Cake by Paul Bradford is a three tiered wedding cake featuring a striking striped middle tier and elegant floral details. This is combined with an adorable bride and groom topper for a quirky and bespoke look. This cake will take two to three days to complete and is recommended for an intermediate level cake decorator.
We would love to see your take on the Bride and Groom Cake – please share your photos with us on our Facebook Page!


