Tutorial Preview
Bite Sized
Watch Paul make this cake in just one minute!
Highlights
Watch some hand-picked highlights from the full tutorial.
1. How to temper chocolate
To get started, Paul shows you how to make tempered chocolate – the easy way!
2. Creating the wrap
In this lesson, you’ll learn how to put the chocolate to use to create a lovely smooth wrap.
3. Adding the wrap
Now it’s time to add the wrap to the cake!
4. Making the balls
Paul shows you how to make the artistic attraction for the cake!
5. Covering the board
In this lesson, Paul shows you how to cover the board and add a ribbon.
6. Putting the balls together
Now that the balls, have been made, we need to add the 2 halves together.
7. Colouring the balls
Time to add a touch of dust to our balls.
8. Adding the balls
Now, Paul adds the chocolate balls to the cake.
9. Finishing touches
Paul adds some finishing touches to complete the cake!
10. Other Ideas
In this lesson, Paul gives you some other ideas to use on your own designs.
11. PRO Lesson
In this lesson, Paul talks all about pricing and selling a cake like this.
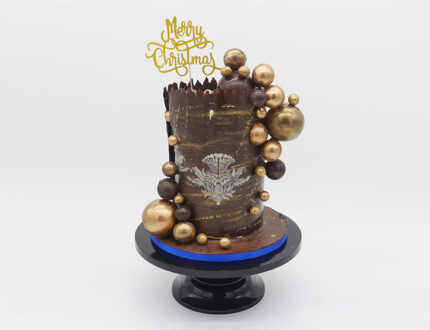
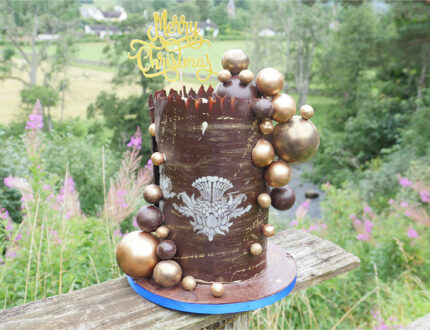
Easy Tempered Chocolate cake tutorial by Paul Bradford
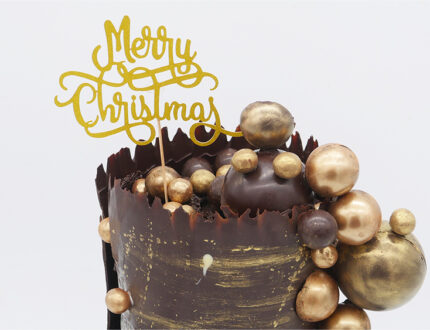
Create this stunning, shiny tempered chocolate finish the easy way! See how Paul works with the chocolate to get the desired finish without all the thermometers and challenges normally associated with making tempered chocolate the traditional way.
In this tutorial you will learn how to:
- Create easy tempered chocolate
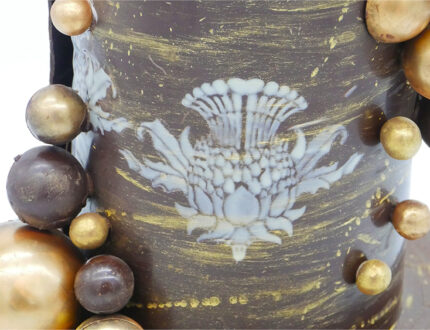
- Create a chocolate transfer
- Add the transfer to the cake
- Create and add chocolate balls
- and much, much more!


