Tutorial Preview
Highlights
Here, we’ve carefully selected the key parts from the entire tutorial and condensed it into a 6 min long video. More than enough to get you started without taking too much time.
1. Lesson 1 - The design
In this lesson Paul discusses the design and all the bits and bobs he will be using including where he purchased them from. Some handy tips and words or warning along the way so well worth a watch.
2. Ganaching the cakes
Here Paul layers and dowels the middle tier cakes and then covers them in a neat layer of ganache. Not too neat however. Remember, no one is going to see the ganache as it will be covered so let’s’ not get carried away.
3. Covering the cakes
Paul demonstrates covering the largest cake in this lesson and then gets busy covering the rest off camera. Same applies here in that you don’t have to spend hours trying to get sharp edges etc as it will all be covered in decorations.
4. Making the royal icing
Paul makes up a huge batch of royal icing which will be used to attach the wafer decorations
5. Attaching the wafer decorations
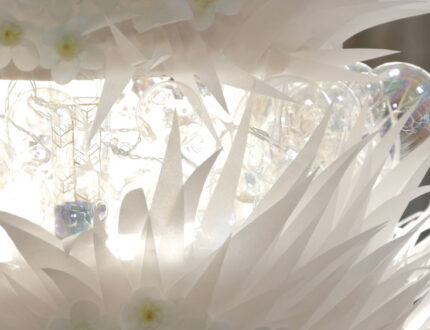
Here, Paul cuts up the wafer paper into shard like pieces using a craft knife and then gets attaching them to the cake using royal icing and a rather makeshift piping bag.
6. Making the flowers
In this lesson Paul shows us how to make the delicate flowers in three different sizes using edible wafer paper. You could you a punch cutter to make life easier but Paul ops for the scissors.
7. Assembling the top tier
Time to get the glass bobbles and hot glue gun out and just make sure to do this in a carpeted area or at least just be very very careful. Here, we learn how to make the stunning cake separators and you’ll see why Paul uses a cake dummy and not a real cake.
8. Assembling the middle tier
Here we see Paul get busy with the hot glue gun and makes the separator using shot glasses and various sized glass bobbles.
9. Making the final separator
In this lesson Paul makes a much bigger separator making sure there is plenty of room for the battery powered led lights.
10. Putting it all together
Here, we see Paul add the final set of lights to the bottom of the cake and then stacks the entire cake. You may want to get a second pair of hands at this stage and most probably a ladder.
11. Finishing touches`
Here, we see Paul add the forget me not flowers to the cake and then starts to bring them to life with a little airbrush work.
12. Other ideas
Paul shares some other ideas you can try out during this project. We’re sure you’ve some of your own, and we’d love to see what brilliant alterations you’ve made.
Share your pics with us on our Facebook page.
13. Pro lesson
In this lesson, Paul shares some insider information about the cost of make this cake. He also discusses pricing, portions and other vital information for any professional cake designer.
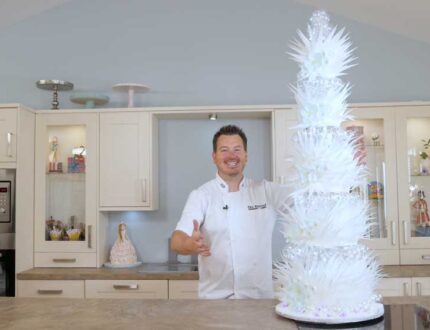
In this week’s tutorial, we join Paul as he teaches us how to make this stunning wedding cake. The cake was actually donated to Alzheimer’s Scotland and helped them to make over £25,000 at their Forget Me Not ball where it was auctioned off.
In this lesson you will learn:
- Supporting and stacking a tall cake
- Working with ganache
- Icing large cakes
- Creating wafer paper decorations
- Making wafer paper flowers
- Dust work
- and much much more!
Don’t forget to share your interpretations of this wonderful cake with Paul and rest of the Sugarcraft community on our Facebook group.
Who knows? You may even end up featured in one of our monthly members’ cake blogs.


