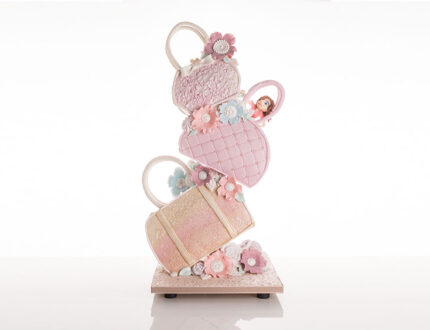
Tutorial Preview
Highlights
In this video, we have carefully summarised the key parts from part 1 of this tutorial and condensed it into a 6 min long video. More than enough to get you started without taking up too much of your time.
1. Making the stand
Learn how to make a sturdy cake stand that will hold a three-tier structure. You may choose to use plywood for the base as it’s a stronger wood. However, MDF also worked well for Paul.
2. Preparing the cakes
Here Paul cuts his cakes to shape in preparation for being ganached, leaving him lots of spare cake which can always be used for another project.
3. Ganaching the cakes
As no one will be eating this cake, Paul doesn’t layer his in the video so to not waste ganache, but ideally, it would be better to cut it horizontally and layer it nice and thickly. Paul then cuts off the lips of ganache after bringing the cakes out of the fridge before adding more ganache to the side of the cake and then smoothing it down with a wet metal side scraper.
4. Covering the cakes pt 1
Paul now smooths the cakes off with a wet pastry brush before covering them in 3mm thick sugarpaste, the sugarpaste is cut to size and then rolled over the top before covering the front and back in separate panels.
5. Covering the cakes pt 2
In this instance, Paul’s use of a high-quality sugarpaste on the design has actually made life more difficult for him. You can always do as Paul does and add the design before applying the panels but just be careful not to lose detail.
6. Painting the cakes
Paul now gets out some lovely dusts which are noted in the ingredients section, he mixes them with alcohol to achieve a nice thin paint.
7. Decorating the first handbag
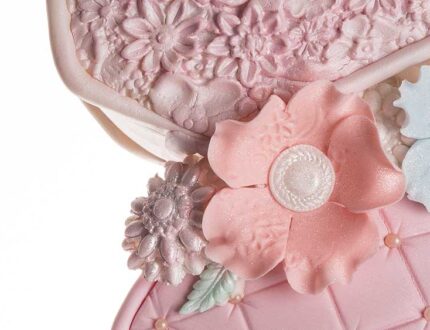
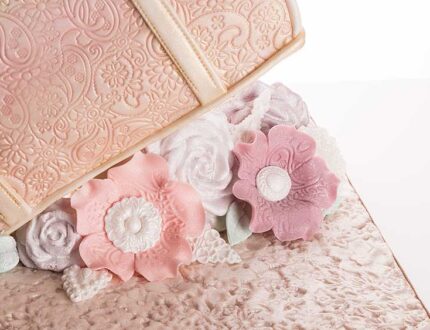
Here we see just how much you can achieve with just some sugarpaste and a stitchy tool. It’s always good idea to have a handbag or a picture of a handbag in front of you for reference sake whilst working on your design.
8. Finishing the first handbag
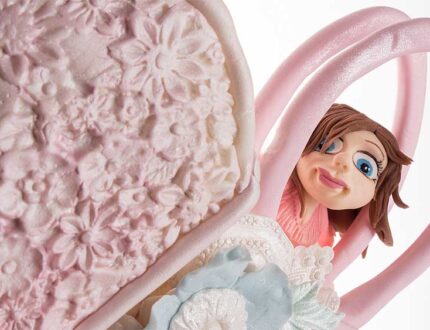
Here, we see Paul add the trimming to the handbag before making the all important handles for the bags.
9. Finishing touches
In this lesson Paul shows us how to get a lovely quilted look using a set square and a PME modelling tool.
If you bought this as an Individual Purchase course, then enter the following code at the Checkout Page to receive Part 2 Free: handbagheavenpart2
We’d love to see your take on the Handbag Heaven cake – so make sure you share your photos with us on our Facebook page.
We have also recently improved our calculator page so you can re-calculate your recipes, working how much ganache to use, how much sugarpaste and how many portions you will get.
Happy caking!!!
Connect with us: Facebook – Twitter – Instagram – Pinterest – Youtube
Paul Bradford Sugarcraft School – Cake Masters Magazine Awards Winner 2016, Feefo (independent online review system) Gold Merchant Holders with a 99% service rating
#cake #cakes #cake design #cake designs #handbag cake #handbag cakes #stacked cake #ganache #edible handbag #edible handbags #cake tutorials online #recipes #decorating #design #cake designers #cake decorators #cake decorating #cake design courses #learn how to make cake online #sugarcraft #designer cakes #paul bradford


