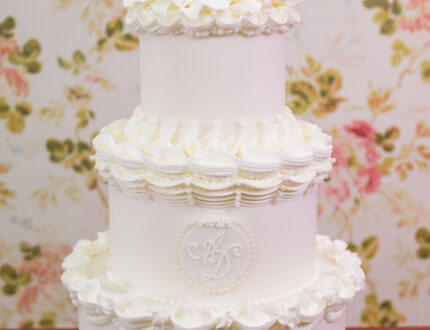
Tutorial Preview
Highlights
In this lesson we’ve carefully selected all the key moments of the tutorial to get you started. Perfect for those of you struggling to find the time to watch the entire tutorial.
1. Making Piped Flowers
In this lesson Ceri show us how to make beautiful piped flowers. He makes it look so easy! Just remember to make sure that all your tools and nozzles are clean and dry. The slightest bit of contamination can destroy all your hard work, so be super careful.
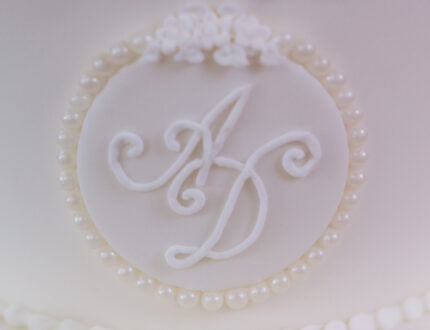
2. Making the Monogram
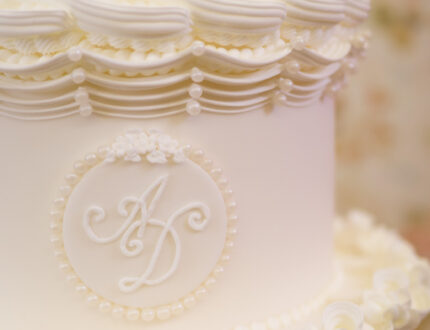
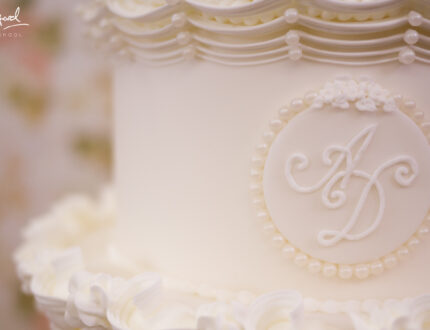
Ceri shows us how to make a lovely monogram using the simplest tools, and a little bit of creative flair. Practise your handwriting and get creative!
3. Cake Mapping
In this lesson Ceri show us how to plan in advance with precision and accuracy. This is absolutely necessary for piped work, especially when it’s as neat as Ceri’s. It isn’t complicated, doesn’t take long and will make your life a whole lot easier.
4. Foundation Piping Pt 1
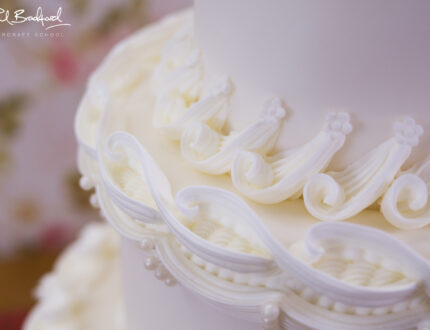
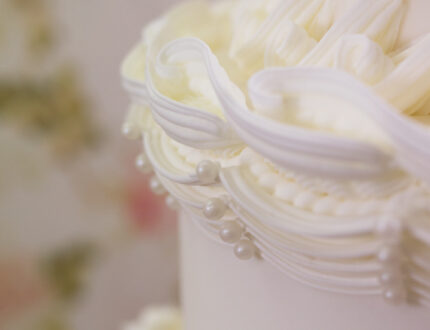
Now we are onto the exciting part! Ceri shows us the foundation work needed which will gradually be built upon to make it fancier and fancier. Ceri starts off with barrel rolls, shells and stretched bulbs of icing.
5. Foundation Piping Pt 2
Things are starting to come together now, as we see Ceri build on the – now dry – piped work. Just make sure you give it at least 20 minutes before adding on top of it and correct with a damp paint brush as you go, as you can’t correct it once it’s dry.
6. Over Work
In this lesson, Ceri begins to add some pretty over work, which he gradually builds up throughout the rest of the tutorial, with each layer adding something new and interesting.
7. Stacked and Draped Line Work
Ceri shows us some lovely stacked and draped lines, as well as stacked line work. Pick up some fabulous tips along the way, like writing the nozzle number on your piping bag and having dedicated bags for each nozzle – this will help you hugely. When doing this kind of piped work you definitely want to be using fresh royal icing… don’t be tempted to use icing you made two days ago.
8. Finishing the Monogram and Adding the Flower Topper
In this lesson, you’ll see exactly why Ceri made his monogram disc have a curve. Remember those piped flowers we made earlier? Well it’s time to add them to the top of the cake, and then fill in the gaps with some piped leaves.
9. Finishing Touches
In this final lesson, Ceri shows us how to finish the cake off with lovely little dragées put in all the right places. This is a little bit of extra work that really makes a huge difference to the overall design. It requires a steady hand and is probably best to do once everything has dried, as you could quite easily damage your piped work.
10. Other Ideas
In this lesson, Ceri shares some other ideas that you can try out when making this cake. We’re sure that you have some of your own fantastic ideas and we’d love to see what you come up with.
Please share your snaps with us on our Facebook page as well as on Ceri’s.
11. Pro Lesson
Ceri goes into detail covering things such as pricing, ingredient costs and much, much more. It’s vital information for any professional cake designer.
We’d love to see your take on the Pearl White Wedding Cake – please share your snaps with us on our Facebook Page.
