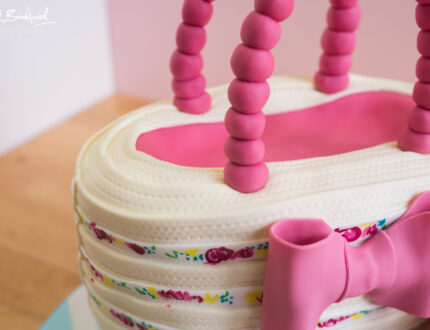
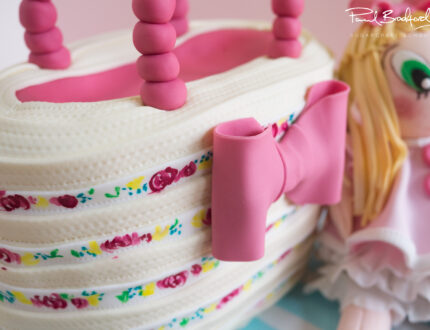
Tutorial Preview
Highlights
Struggling for time? You’ve come to the right place. We have carefully selected all the key parts of the tutorial that you can view in no time at all to enable you to make this adorable cake!
1. Covering the Board With Striped Fondant
Struggling for time? Why not watch the whole tutorial in 16 mins?
In this lesson, Valerie creates the striped pattern, using white and light blue coloured fondants, which will be applied to the cake board.
2. Carving the Cake and Applying the Ganache
Here, Valerie carves the basket out of Madeira cake and smothers it in white chocolate ganache.
3. Covering the Cake
In this lesson, Valeria smooths out the white chocolate ganache and applies the white fondant to the Handbag.
4. Decorating the Cake
Valerie spends this lesson creating the decorative strips that will line the cake. You can either create and add one strip at a time or make them all at once but just make sure they are covered or they will dry out.
5. Applying the Strips of Fondant
Remember those decorative strips we were making? Well, in this lesson, Valerie applies them beautifully to the basket, alternating between plain and decorated; for that extra authentic touch!
6. Painting the Handbag
Here, Valerie carefully moves the basket onto the striped cake board and continues to delicately paint some intricate flower designs onto it.
7. Creating the Handle
In this lesson, Valerie creates the basket handles out of some small fondant balls and a couple bits of wire piping.
8. Creating the Bows and the Bracelet
A rag doll is nothing without a bow in her hair! Valerie creates a couple bows out of pink fondant; one for the doll’s hair and the other for the front of the basket. She also makes a start on the small candy bracelet that will act as an additional decorative feature.
9. Creating the Rag Doll Pt 1
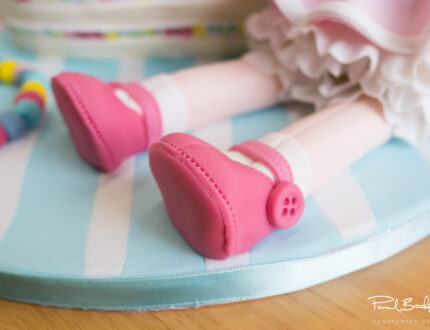
In this lesson, Valerie finally makes a start on creating the rag doll! Starting off by building the base for her body and finishing with the legs.
10. Creating the Rag Doll Part 2
Here, Valerie continues on with the rag doll construction by creating the arms and the delicate frilly underskirt.
11. Creating the Rag Doll Pt 3
Valerie makes further headway in creating the rag doll. Here, she moves the body on to the striped cake board and continues with making the dress!
12. Creating the Rag Doll Part 4
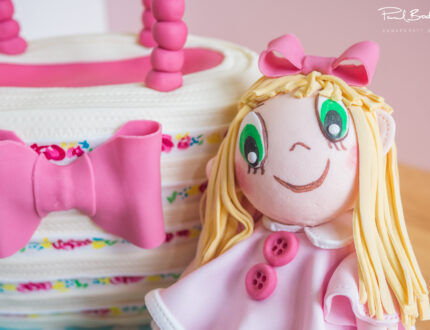
In this lesson, Valerie attaches the arms onto the doll before creating her cute little face and placing the head onto the body.
13. Finishing the Doll and Adding the Bracelet
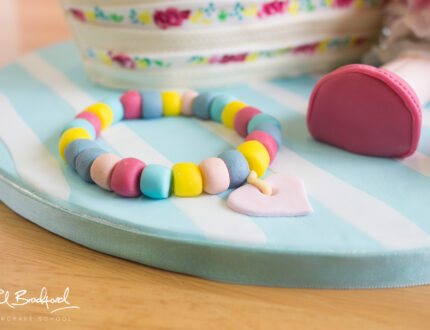
Valerie puts the finishing touches onto rag doll, and the cake in general, by adding on the hair and completing the little decorative bracelet.
14. Other Ideas
Valerie Shares some other ideas you can implement when making this cake to make it unique to you. We are sure that you have some of your own fantastic ideas too and we would love to see them.
Share your pictures with us on our facebook page as well as Valerie’s.
15. Pro Lesson
Paul and Valerie discuss some insider information including the cost of making the Rag Doll & Handbag as well as what they would charge for the cake and more! Vital information for any professional cake designer.
16. Interview
In this video Paul helps us get to know the talented designer behind this adorable cake. Have a look at her web site here.
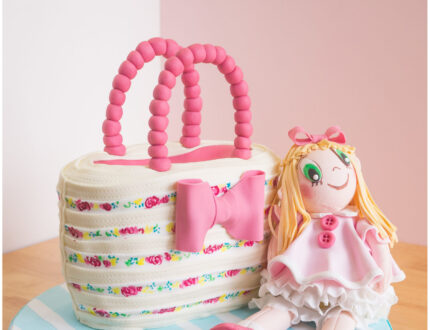
Valeria Latham from Cake Magic introduces us to this adorable Rag Doll and Handbag Cake. If you’re looking for cute birthday cake ideas, this one is perfect for a young girl’s celebration cake – the colours, patterns and detail can easily be adapted to customise the cake and it can be used for a variety of other occasions too. This cake tutorial is full of fantastic techniques including cake carving, working with ganache, modelling, making cute edible decorations and much more.
We would love to see your take on the Rag Doll and Handbag Cake – share your snaps with us on our Facebook Page and Valerie’s!
