Tutorial Preview
Highlights
Here, we’ve carefully selected the key parts from the entire tutorial and condensed it into a 10 min long video. More than enough to get you started without taking too much time.
1. Assembling the stand
Paul shows us how to make a simple and reliable stand using only a few tools and other bits and pieces. Paul recommends that you do this out-with the kitchen for food safety reasons.
2. Making the legs
Paul now forms the legs using a very simple shape which he then molds around the stand.
3. Carving the cake
Paul places the cake on to the stand and then begins to carve it using a long serrated knife. Don’t worry about carving too much off as you can always apply bits back on using ganache.
4. Covering the cake
Here, Paul covers the cake and works away the pleats to give a nice smooth finish which acts as the first layer of the dress.
5. Adding the torso
Paul now forms the body using modelling paste and then attaches it to the lower half using a bamboo skewer.
6. Making the dress
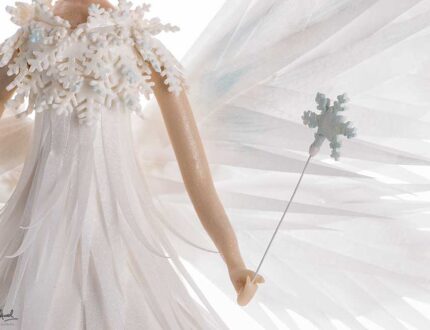
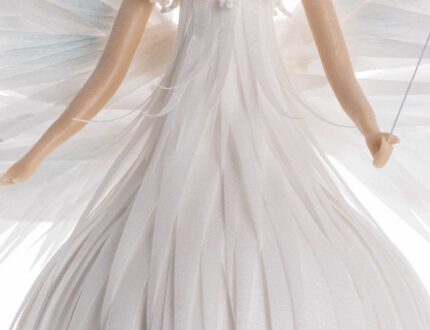
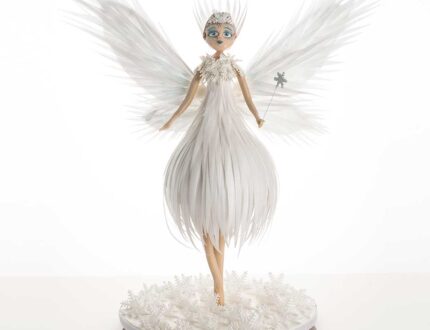
In this lesson Paul shows us a great way to make the dress using only wafer paper and a sharp knife.
7. Finishing the dress
Paul uses cutters of various sizes to help finish the dress off, which he then applies to the dress with some edible glue.
8. Making the wings
Here, Paul shows us how to assemble and make the beautiful wings using more wafer paper and some other clever bits and pieces.
9. Making the arms
In this lesson, Paul tries a couple of different approaches to attaching the arms and finds that his second attempt works better. The littlest things make all the difference.
10. Adding the wings
Paul starts off by finishing off the top of the arms by adding some snowflakes and then gets the wings on in the simplest and quickest way possible.
11. Decorating the board
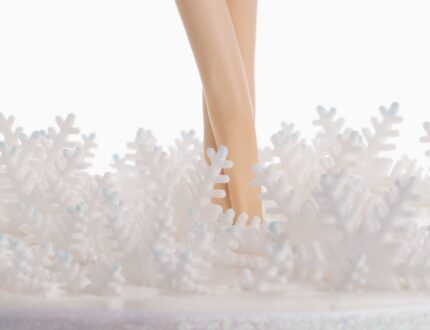
You’ll be pleased to know that you now have permission to make a mess and that it ends up looking lovely. Just a palette knife and some royal icing and you’re halfway there.
12. Making the head
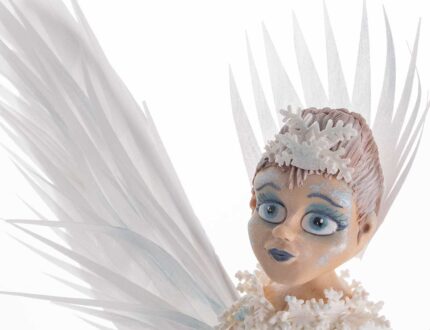
In this lesson, Paul makes the head and most of the face from a single piece of sugarpaste. This technique is tricky at first but the pay off is well worth it. You end up with a more realistic and natural looking head.
13. Lesson 13 - Painting the head
Paul gets the dusts out along with some different brushes and shows us how to bring the fairy to life.
14. Finishing touches
Paul now finishes the head and adds it to the cake but then senses that something is missing. Paul then adds some colour to the rest of the fairy and then creates the crown like piece to rest behind her head.
15. Other ideas
Paul shares some other ideas you can try out during this project. We’re sure you’ve some of your own, and we’d love to see what brilliant alterations you’ve made.
Share your pics with us on our Facebook page.
16. Pro lesson
In this lesson, Paul shares some insider information about the cost of make this cake. He also discusses pricing, portions and other vital information for any professional cake designer.
This week Paul teaches us how to make this stunning Snowflake Fairy. Often known as a ‘Snow Queen’ or ‘Ice Maiden’ this cool character is guaranteed to melt your heart.
Follow this Snowflake Fairy tutorial with Paul to pick up some new skills and techniques which include:
- Making a standing structure
- Cake Carving
- working with ganache and modelling chocolate
- Advanced modelling
- Edible dust work
- Creating edible fairy wings
And much more.
This tutorial is perfect for an advanced cake designer or for an intermediate looking for a new challenge.
Make sure you check out our new online magazine Cake Life for hints, tips and news from the world of cake!
