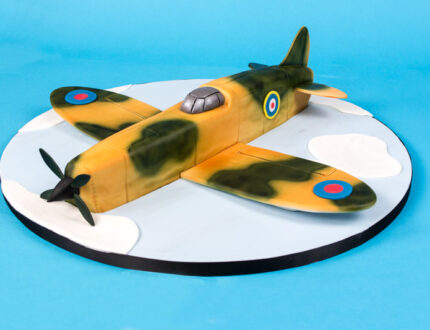
Tutorial Preview
1. Cutting the Shape
2. Covering the Cake
3. Making the Wings
4. Painting the Plane
5. Covering the Board
6. Adding the Clouds
7. Finishing Touches
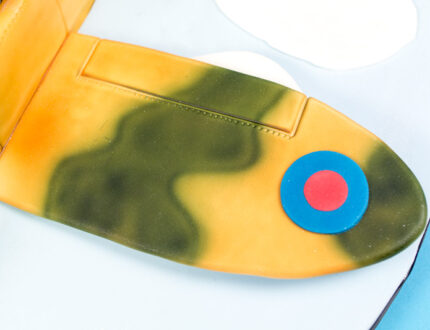
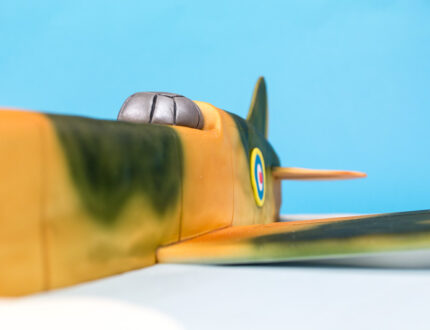
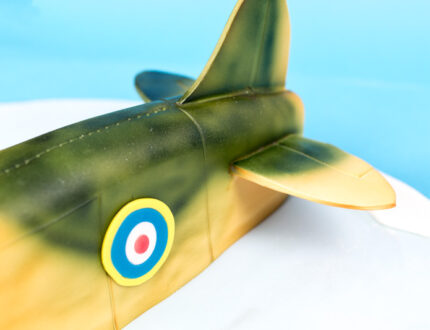
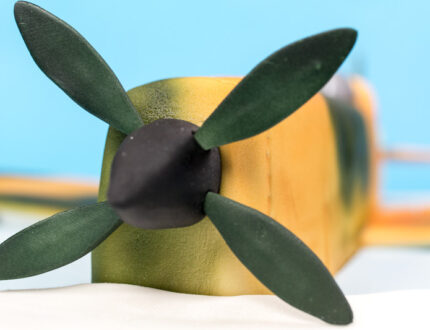
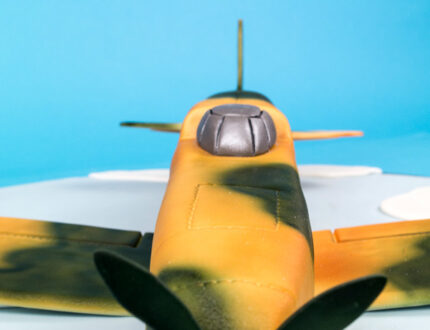
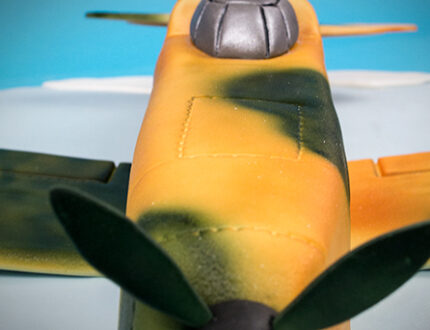
The Spitfire is an iconic symbol and will stir many memories for those involved in the war. This is an example of how to create an illusion of the plane flying by using some simple techniques in covering the board and given the wing angles using sugarpaste clouds. Paul uses google images to research the plane and to create his template (attached) and constantly refers back to the drawing to ensure the detail matches up. Its one of those designs that you can spend hours on, but here Paul takes you through the stages in just over an hour.
Crafting a Spitfire Aeroplane Cake: A Labor of Love
Creating a Spitfire aeroplane cake is a labor of love that requires patience, precision, and a keen eye for detail. This guide will take you through the process, from baking the cake to assembling and decorating it.
Choosing the Right Cake Recipe
The first step is to choose the right cake recipe. A dense, moist cake will work best, as it will be able to support the weight of the decorations. You can use your favorite cake recipe or find a recipe specifically for aeroplane cakes online.
Baking the Cake
Once you have chosen a recipe, it’s time to bake the cake. Be sure to grease and flour the cake pan thoroughly to prevent the cake from sticking. Bake the cake according to the recipe instructions.
Assembling the Cake
Once the cake is cooled, it’s time to assemble it. Start by cutting the cake into the desired shapes for the fuselage, wings, and tail. Use a serrated knife to make clean cuts.
Next, stack the cake layers together, using a generous amount of buttercream frosting between each layer. Be sure to align the layers carefully so that the cake is level.
Decorating the Cake
Now comes the fun part: decorating the cake! You can use a variety of techniques to decorate your Spitfire aeroplane cake, such as:
- Fondant: Fondant is a sugar paste that can be rolled out and used to cover the cake. You can use fondant to create realistic details, such as the Spitfire’s wings and tail.
- Gum paste: Gum paste is a firmer sugar paste that can be used to create more delicate decorations, such as the Spitfire’s propeller.
- Royal icing: Royal icing is a hard, white icing that can be used to create intricate details. You can use royal icing to create the Spitfire’s markings.
- Edible paint: Edible paint can be used to add color and shading to your decorations.
Final Touches
Once you have decorated the cake, it’s time to add the final touches. You can use a variety of items to create the Spitfires’ details, such as:
- Candy melts: Candy melts can be melted and used to create small details, such as the Spitfire’s rivets.
- Sprinkles: Sprinkles can be used to add color and texture to the cake.
- Edible glitter: Edible glitter can be used to add a touch of sparkle to your decorations.
Tips for Success
Here are a few tips for creating a successful Spitfire aeroplane cake:
- Use a sturdy cake board: A sturdy cake board will help to support the weight of the cake and prevent it from sagging.
- Use genügend frosting: Use a generous amount of frosting between each layer of the cake to help it stick together.
- Be patient: Decorating a Spitfire aeroplane cake takes time and patience. Don’t rush the process, and take your time to create the details.
Have fun! Creating a Spitfire aeroplane cake should be a fun and enjoyable experience. So relax, let your creativity flow, and enjoy the process.
We would love to see your take on the Crystal Wedding Cake – please share your photos with us on our Facebook Page!
Want to see more then check our full Cake Tutorial Library.
