Tutorial Preview
Highlights
In this video, we have carefully summarised the key parts from this tutorial and condensed it into a 8 min long video. More than enough to get you started without taking up too much of your time.
1. Starting on the wall
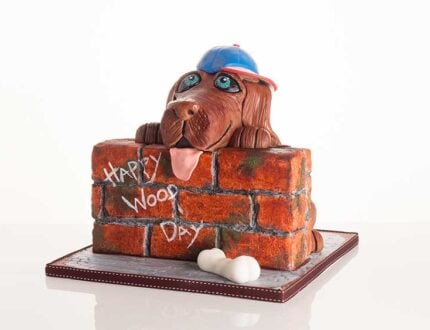
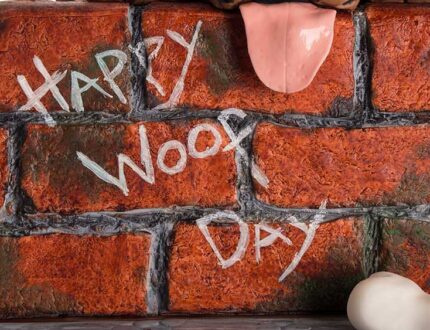
Paul talks us through the design of our dog cake and then shows us how to cover the wall with some grey sugarpaste in preparation for creating the bricks.
2. Adding the bricks
Paul shows us a clever trick to get a nice worn brick look with an everyday item and then attaches them with some edible glue. A clever trick to make your own glue is by mixing a little CMC or Tylos with some water.
3. Painting the wall pt 1
Paul gets the dusts out and shows us how to create a lovely grout texture in between the bricks.
4. Painting the wall pt 2
Here Paul finishes the wall by adding some extra colours to make our design more interesting. He then covers the board.
5. Carving the body
In this lesson Paul carves a simple body for the dog and puts on a layer of ganache which will then be smoothed down.
6. Covering the body and making the legs
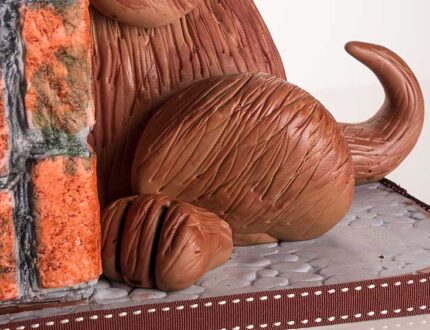
Paul covers the dog’s body in brown sugarpaste and then textures it with a dresden tool to create hair. Depending on the texture you want to create you could use scissors or even a clean scouring pad
7. Carving the head
Here Paul creates a template and carves the head. Getting it ready for a nice thick layer of ganache.
8. Covering the head
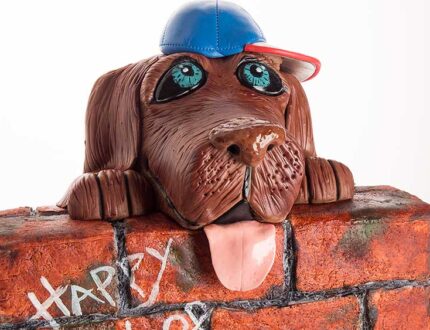
Paul rolls out some brown sugarpaste to around 2 or 3mm and then covers the head. He then uses a ball tool to shape the eyes and applies some more fur texture with a dresden tool.
9. Making the paws
Here Paul shows us how to create a pair of cute paws and a tongue from sugarpaste and adds them to the cake with some edible glue.
10. Lesson 10 - Painting the eyes
Paul creates some simple and cute features for the dog using sugarpaste and again texturing them with some modelling tools to give them a realistic feel.
11. Painting the dog
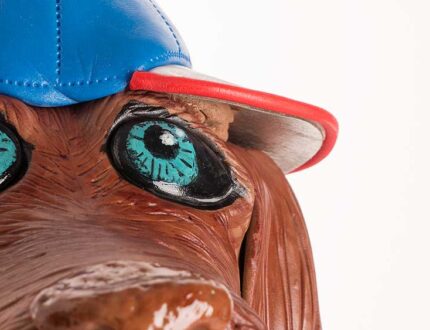
Paul now paints the dog’s face including the eyes and then adds some lovely glaze to bring it to life.
12. Finishing touches
After walking away from the cake for a few minutes Paul realised that the dog was looking a bit flat so decided to add some finishing touches to his street dog cake.
13. Other ideas
Paul shares some other ideas you can try out during this project. We’re sure you’ve some of your own, and we’d love to see what brilliant alterations you’ve made.
Share your pics with us on our Facebook page
14. Pro lesson
In this lesson, Paul shares some insider information about the cost to make this cake, as well as pricing, portions and other vital information for any professional cake designer.
We’d love to see your take on Street Dog – so make sure you share your photos with us on our Facebook page.
Remember you can use our Cake Calculator as well to make sure you get your ingredients and portions just right for this fun little fellow. You will also find that it may come in handy when calculating the ganache.
